12. Settings
1. General Settings
To view general settings, click the General tab at the top.
(Put screenshot here: Save your image in the images folder as general_settings.png)
Here you can manage:
- API Keys: View and copy your system API key. Keep this key secure to prevent unauthorized access.
- Keyword Ignore: Type keywords you want the system to ignore when receiving messages (separated by commas). Messages containing these keywords will not be processed.
- Auto Close Ticket: Set a time limit for tickets to close automatically. Select "Never" to keep them open.
- Greeting Message Count: Decide how many times a greeting message is sent to a customer. Set to
99if you want it to always send. - Create New Ticket After: Decide when a new ticket ID is created. Select "Immediately" to make a new ticket instantly.
.

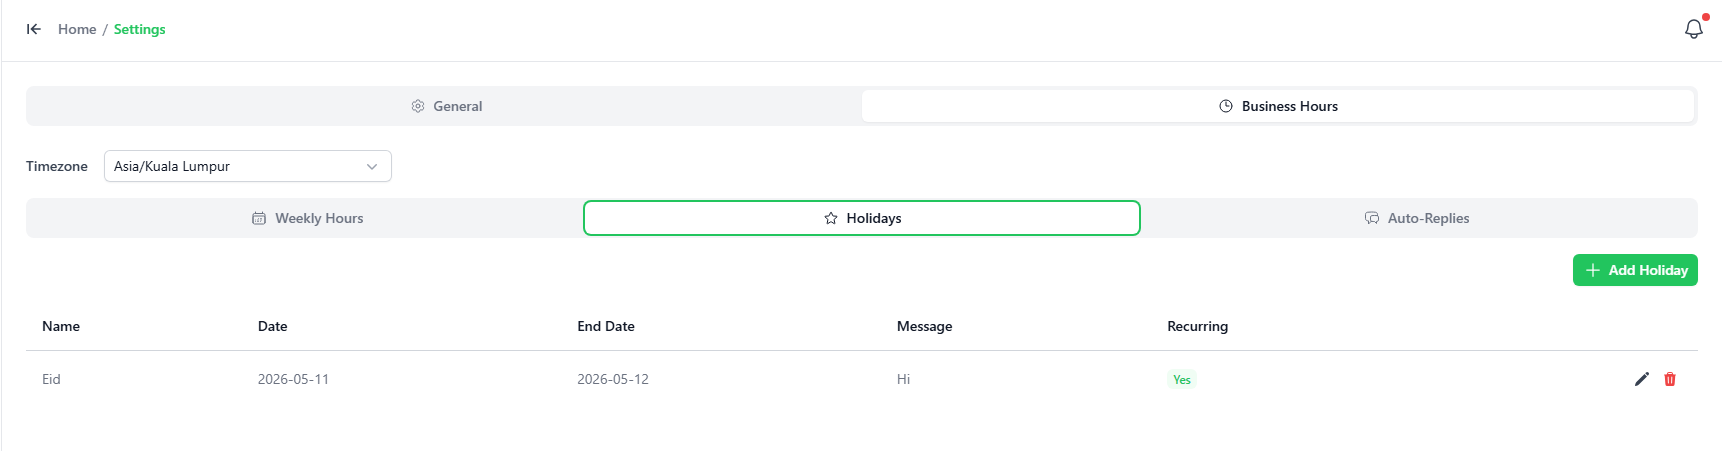
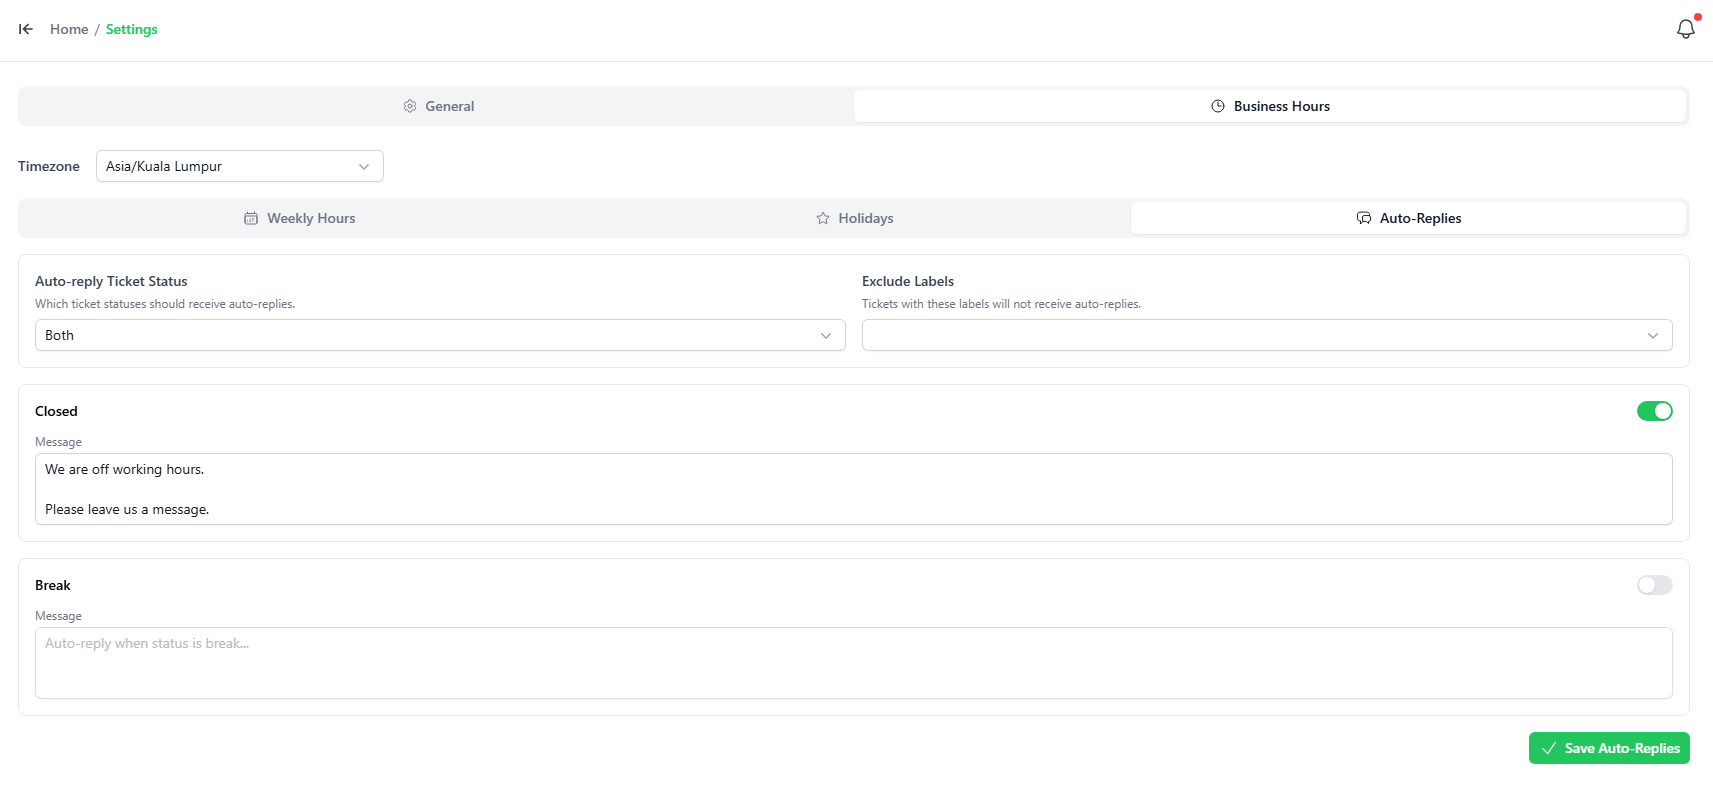
2. Business Hours Settings
Click the Business Hours tab at the top. Here, you can configure three sub-tabs:
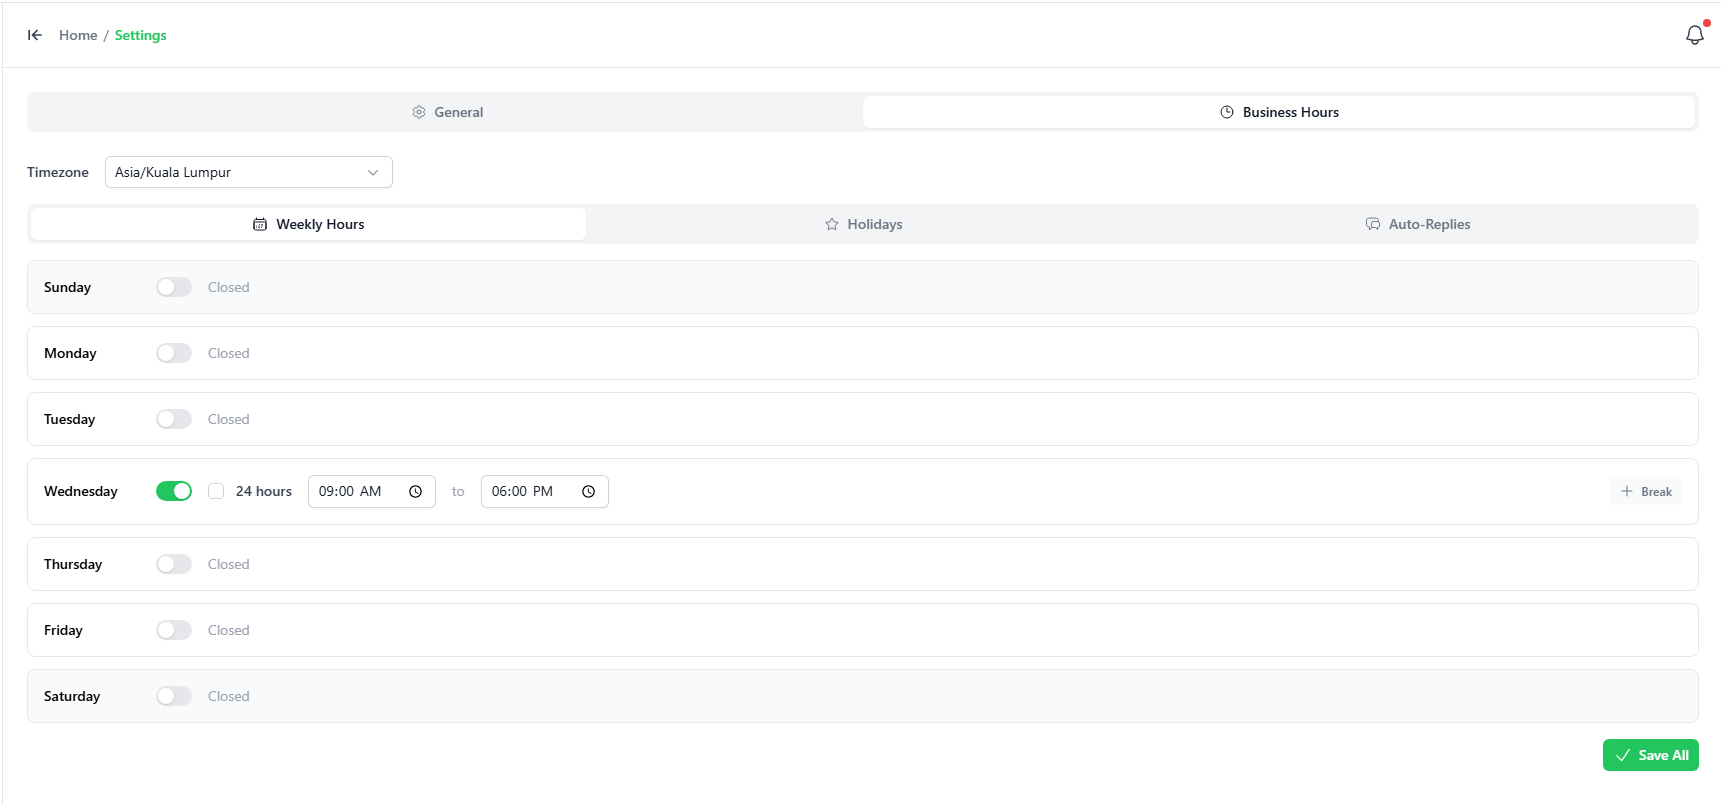
A. Weekly Hours
- Select your Timezone (e.g.,
Asia/Kuala_Lumpur). - Toggle the days of the week on or off.
- Set the start and end times for your working hours (or check 24 hours).
- Click the + Break button to set your daily break time.
- Click the green Save All button.
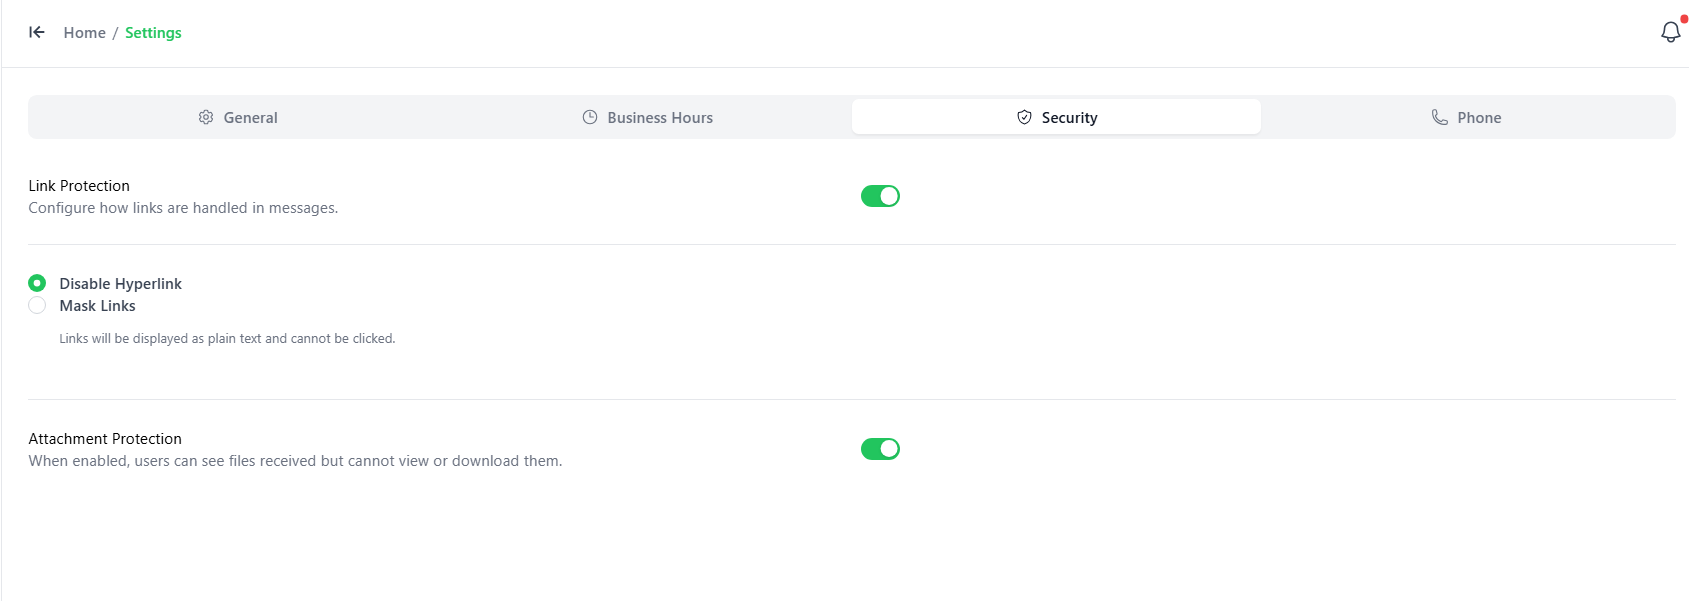
3. Security Settings
Click the Security tab at the top.
(Put screenshot here: Save your image in the images folder as security_settings.png)
Here you can manage safety features for your workspace messages:
- Link Protection: When turned on, you can configure how links are handled in customer chats:
- Disable Hyperlink: Displays links as plain text (so they cannot be clicked).
- Mask Links: Hides the real URL behind text.
- Attachment Protection: When turned on, staff members can see that files have been received but are blocked from viewing or downloading them.
4. Phone Settings
Click the Phone tab at the top. This section is used to set up a softphone integration.

Here you can configure your SIP server details:
- WSS Server / Port / Path: Enter your WebRTC WebSocket server details (e.g., server name, port like
8089, and path like/ws). - SIP Domain: Enter the registration domain for your SIP server.
- SIP Credentials: Set up the SIP Username and other login details for the softphone.