4. Tickets
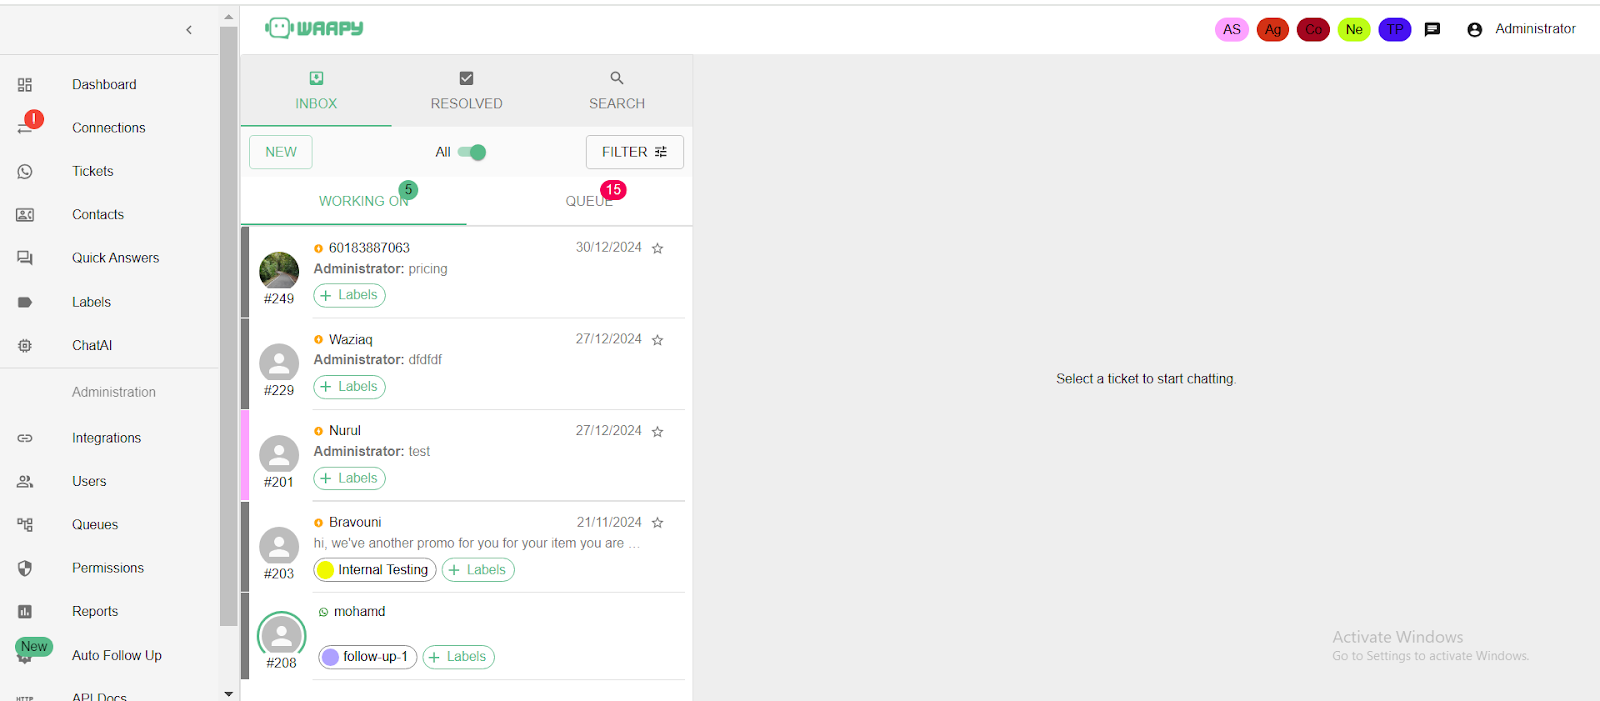
This is the user interface to view and interact with incoming chats.
Tickets/chats are grouped into 2 major categories:
- INBOX – display all new and open tickets. Tickets are subdivided into below categories:
- WORKING ON – open tickets that already have user attending to it.
- QUEUE – new incoming tickets that have not been assigned to any user.
- RESOLVED – display all tickets that are closed/resolved.
You may search the tickets (both open and closed) by keywords using the SEARCH function.
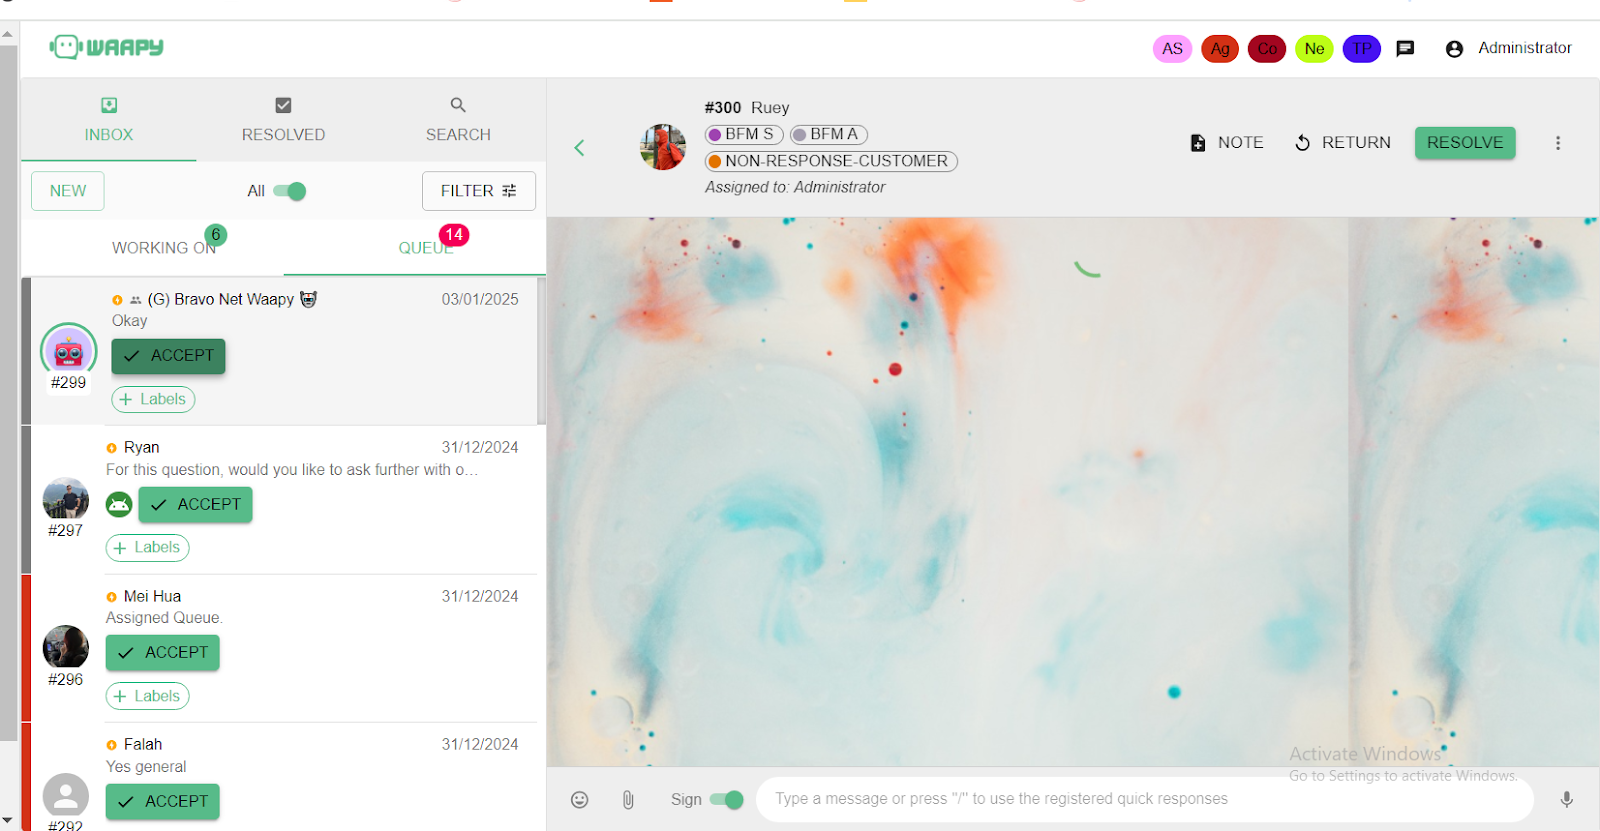
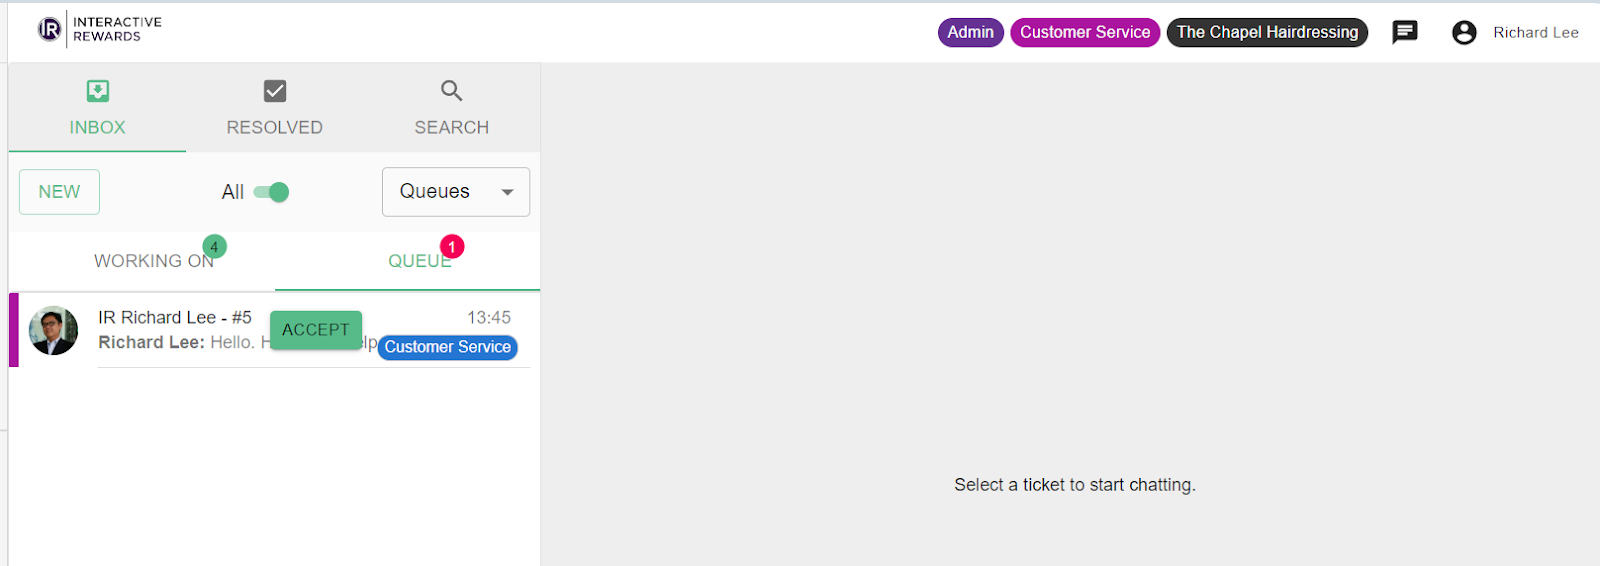
All new incoming chats/tickets will be displayed on the “QUEUE” tab.

- Click on the “ACCEPT” button to accept the ticket and the full chat window will be opened as per the below screenshot.
- The ticket will be moved from the “QUEUE” tab to the “WORKING ON” tab.
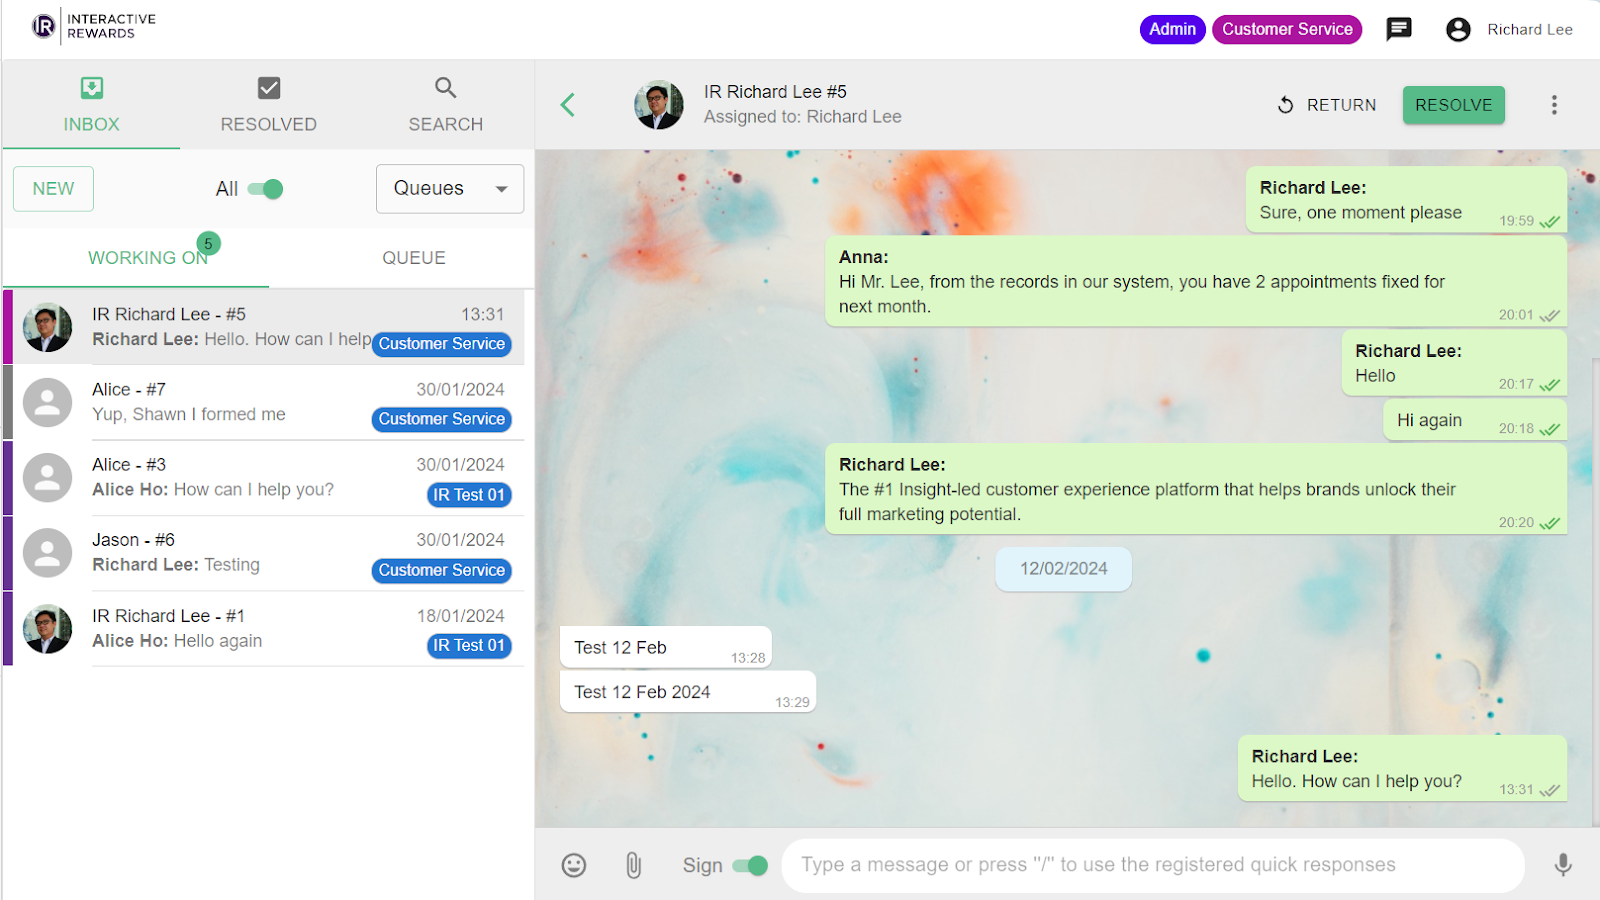
- The user may chat with the contact and all chat will be displayed in the chat window.
- If the “Sign” function is switched on, the user’s name will be displayed in the chat when the user replies to a customer.
- As you can see from the screenshot below, if more than one user/staff attends to a ticket, the system will display more than one name in the chat history.
- An open ticket can be transferred to another user by using the Transfer function. Click on the “3 dots” on the top-right corner of the chat window.
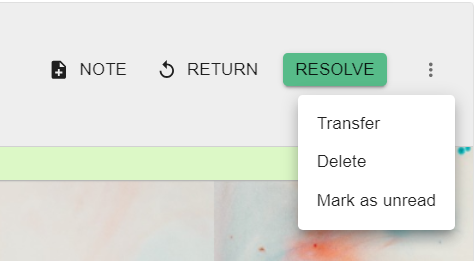
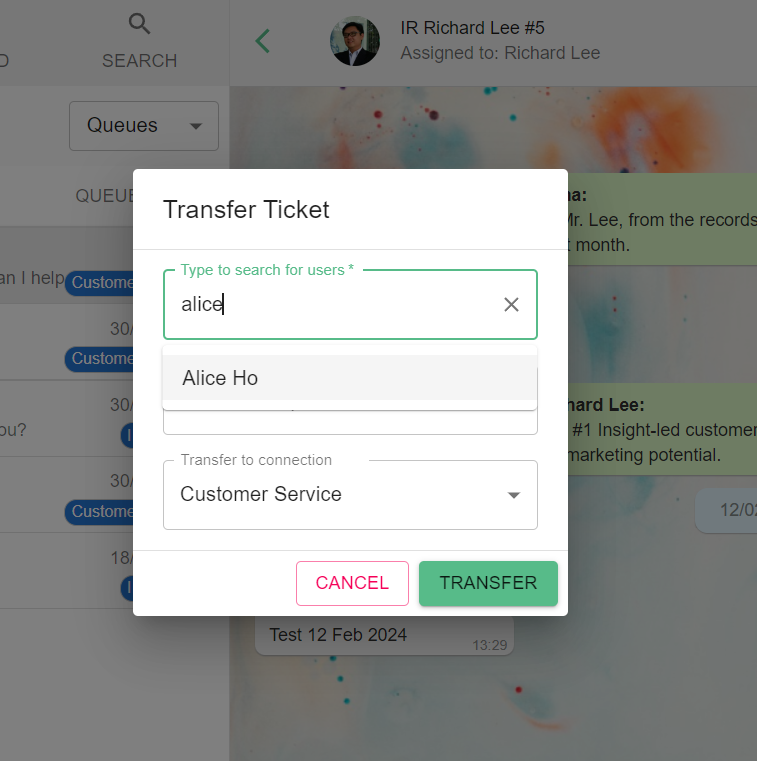
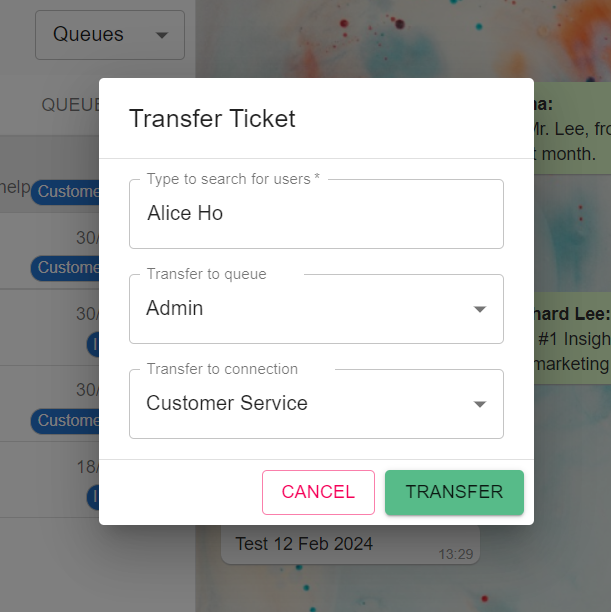
- You may transfer a ticket from one queue to another queue during the transfer.
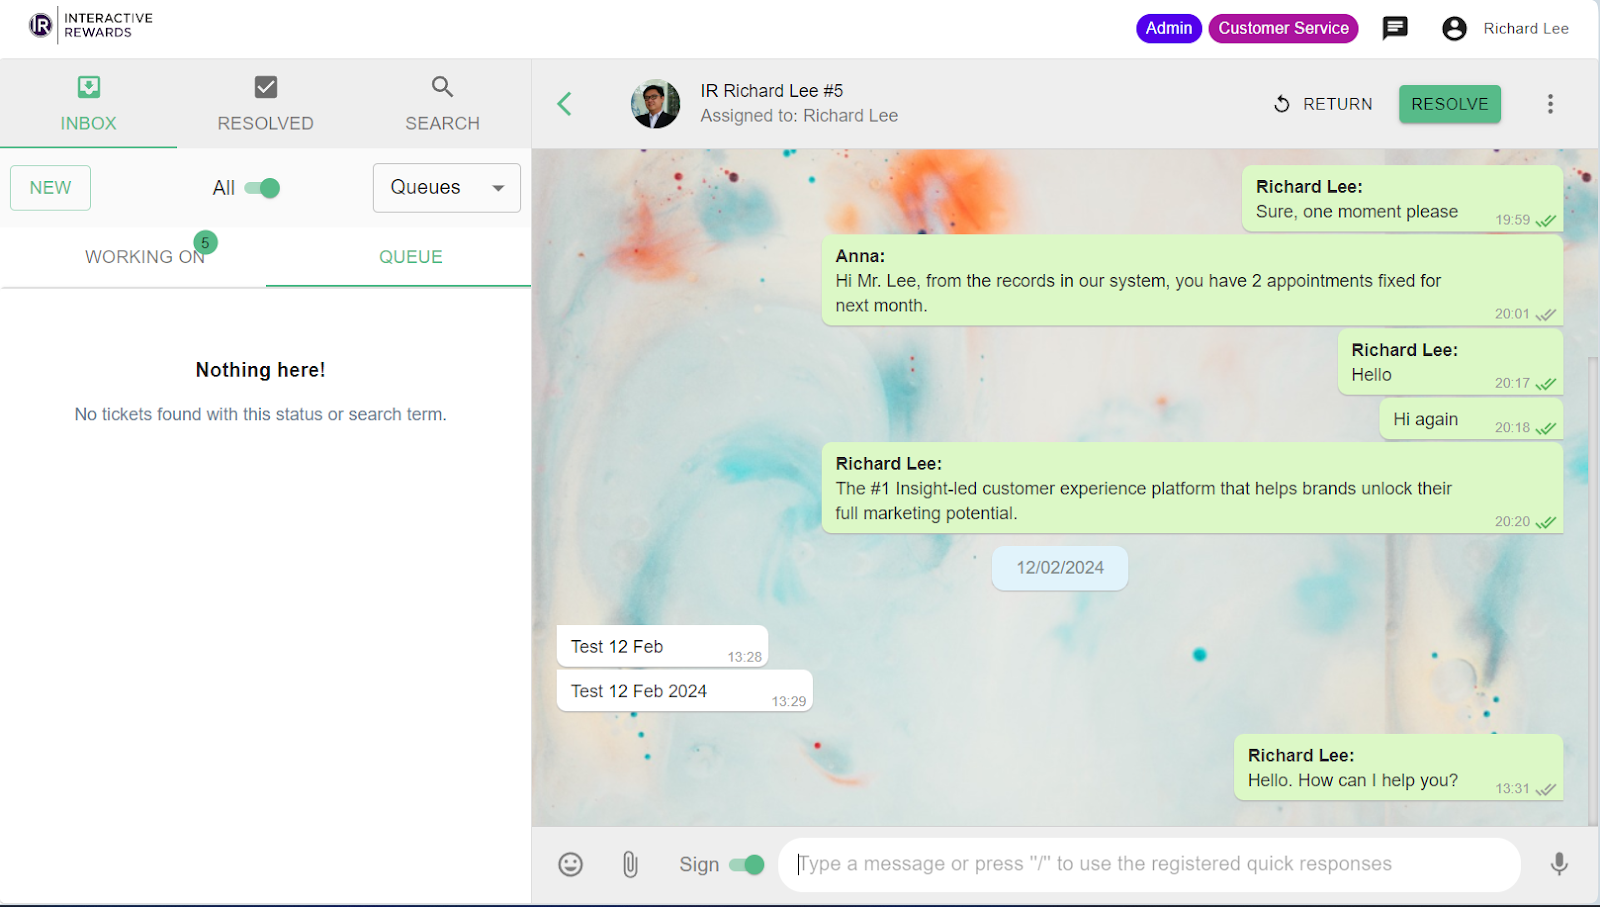
- Clicking on the “RETURN” button will return the ticket to the open “QUEUE” for other available users to pick-up the ticket.

- Clicking on the “RESOLVE” button on the top right corner will close the ticket, moving the ticket from INBOX to “RESOLVED” tab.