11. Permissions
1. How to Create a Permission Group
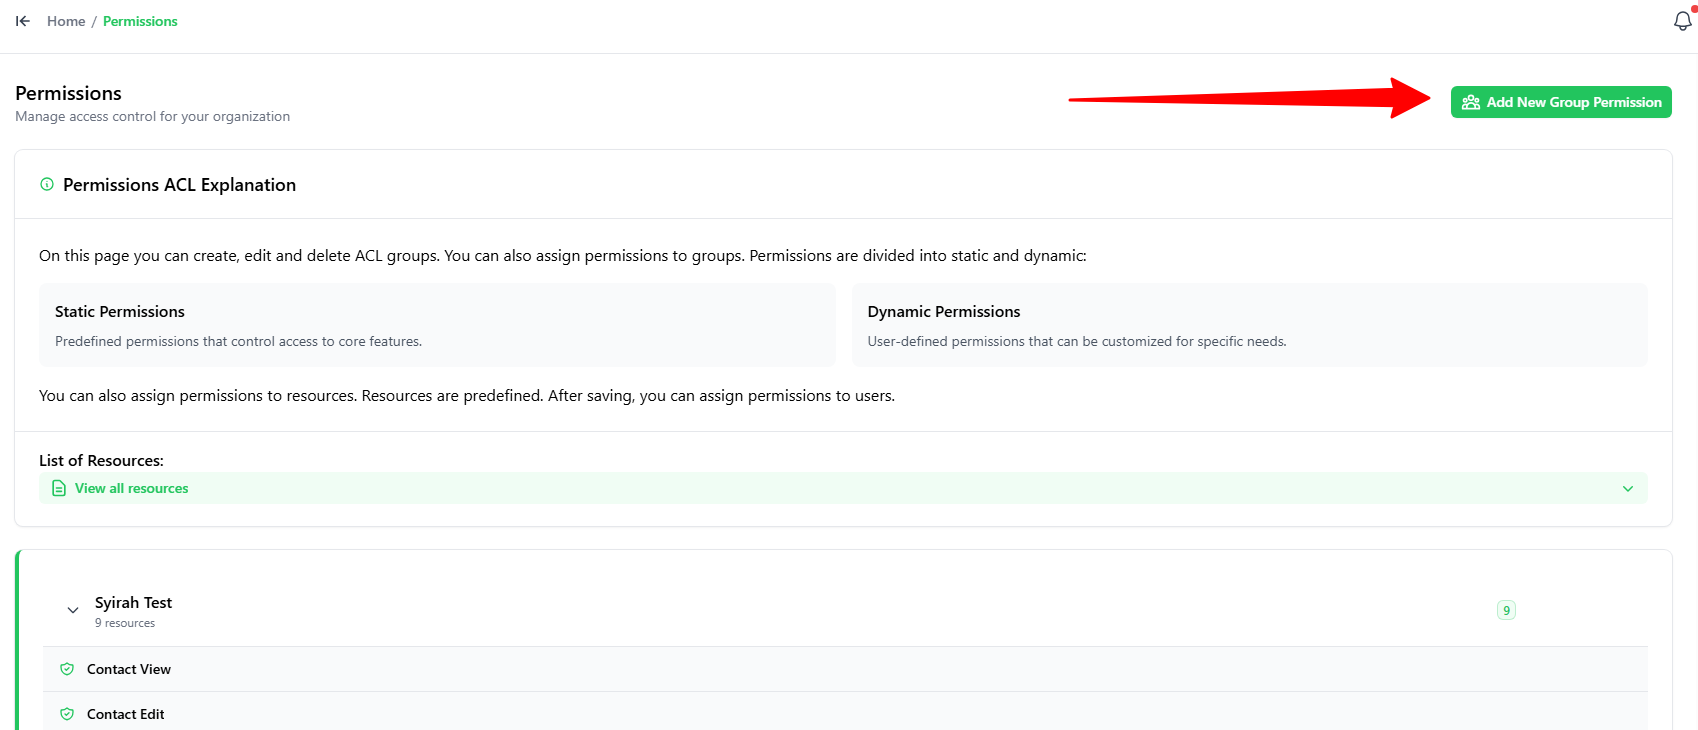
- Go to the Permissions tab.
- Click the green + Add New Group Permission button in the top-right.
2. Choosing Permissions
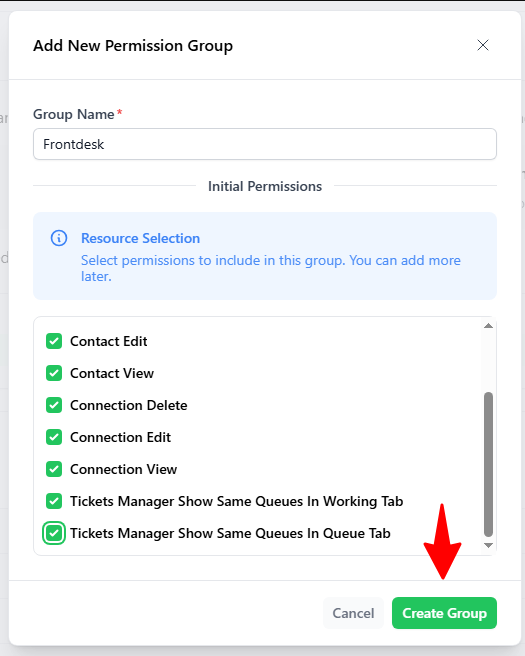
In the Add New Permission Group popup:
- Group Name: Enter a name for the group (e.g.,
Frontdesk). - Initial Permissions: Check the boxes for the actions this group is allowed to perform.
- Click the green Create Group button.
3. Explaining the Permissions
Here are the permissions you can assign to a group:
Permission Name |
| ||
Contact View | View the contact list and contact details. | ||
Contact Create | Add new contacts to the system. | ||
Contact Edit | Edit or update contact information. | ||
Contact Delete | Delete contacts from the contact list. | ||
Connection View | View available system/WhatsApp connections. | ||
Connection Edit | Edit connection settings. | ||
Connection Delete | Delete connections. | ||
Tickets Manager Show Same Queues In Working Tab | View tickets from the same queue in the Working On tab. | ||
Tickets Manager Show Same Queues In Queue Tab | View tickets from the same queue in the Queue tab. | ||
Report Log View | View system reports and activity logs. |
4. Viewing Assigned Permissions
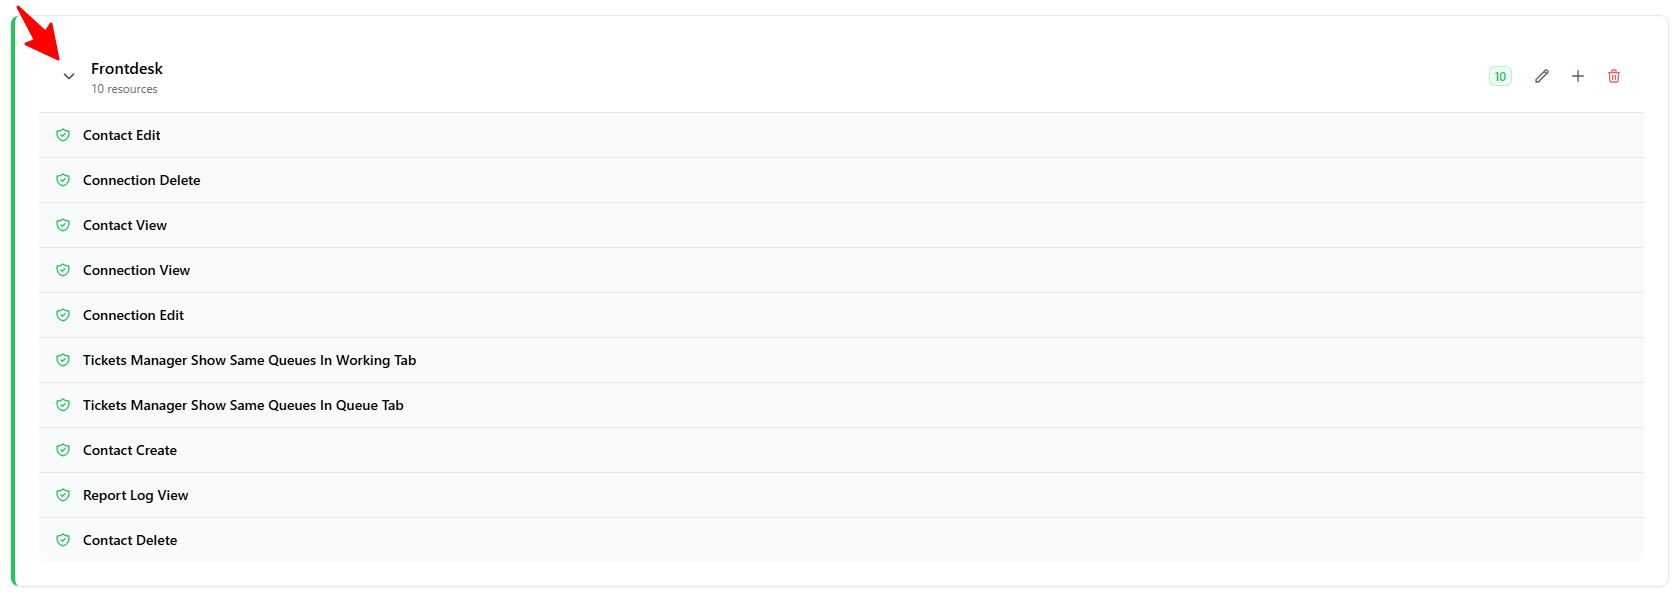
- Click the Down Arrow next to any permission group card to view its list of active permissions.
- Click on the down arrows to view the given permissions for this group.