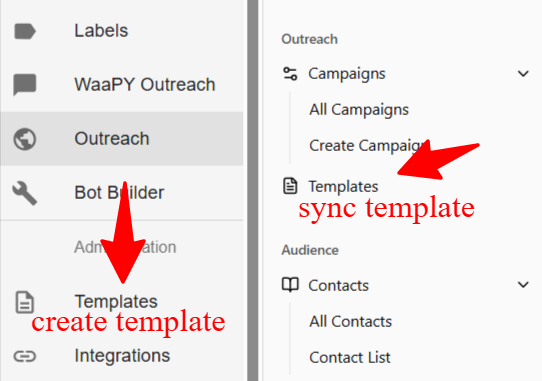
4. i) Templates (Official)
Step 1 :
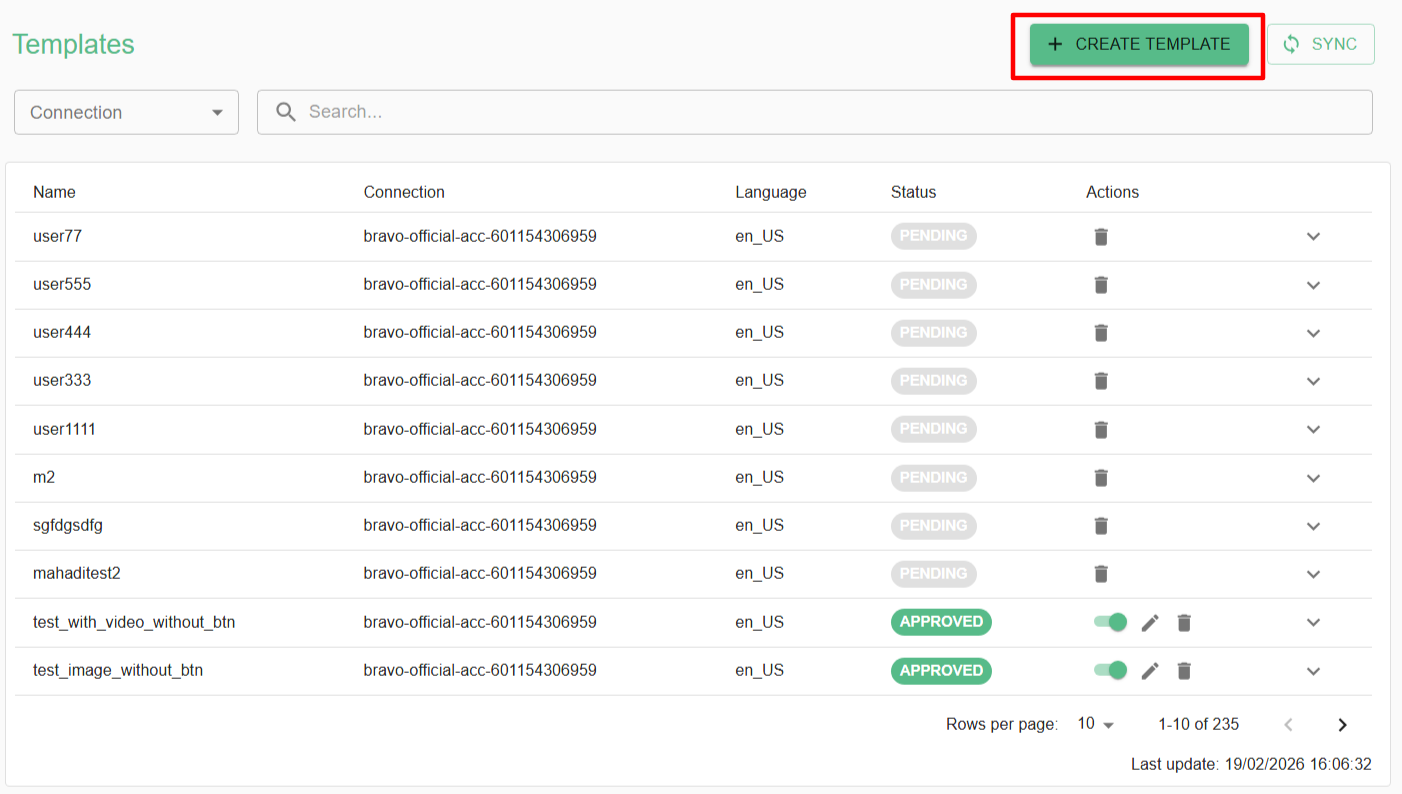
- Create a template in Templates page
Step 2 : Basic Information
- Name the template you want to create
Template's Name must be lowercase, start with letter, and contain only letters, numbers, and underscores
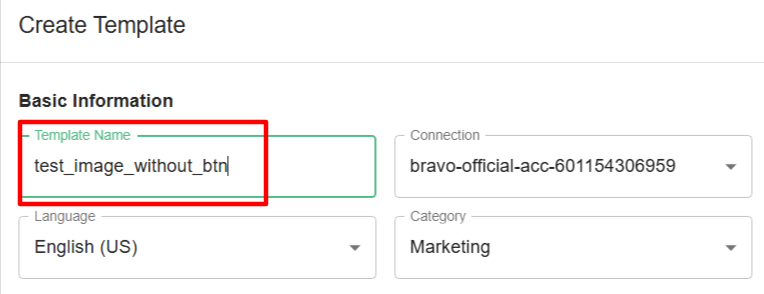
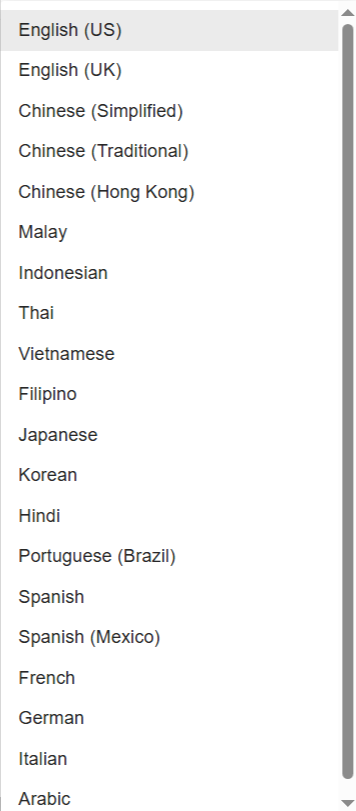
- For the language part you can choose depend on your templates content , if you want to create Malay content then you can select as Malay language
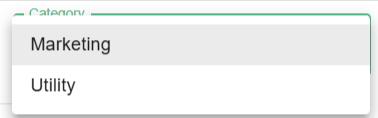
- You can choose whether to place your template under the Marketing or Utility category, but we recommend selecting the Utility category first. This helps reduce the charges applied by Meta for template usage. If the Meta Platforms system rejects the template under the Utility category, it will automatically be reclassified as Marketing. There’s no need to worry about creating a new template in that case.
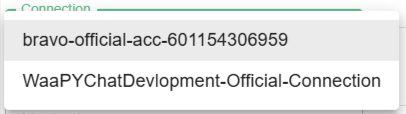
- Choose the connection
Step 3 : Header
- Then , you can add Title and you can attach Image , Video and Documents to be your Header of the template content

Step 4 : Body
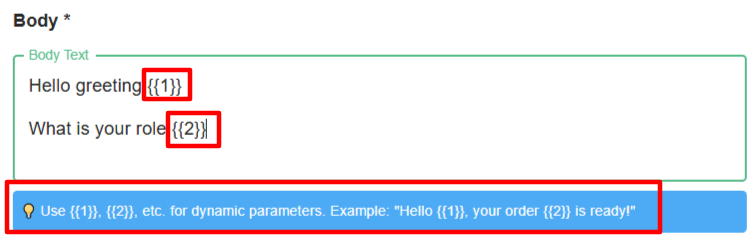
You can use placeholders like {{1}}, {{2}}, etc., to insert dynamic content into your messages. These placeholders will be replaced with actual values when the message is sent.
Example:
"Hello {{1}}, your order {{2}} is ready!"
{{1}}will be replaced with the recipient’s name.{{2}}will be replaced with the order number or any relevant information.
Result:
If
{{1}} = Johnand{{2}} = #12345, the message sent will be:"Hello John, your order #12345 is ready!"
Tips:
- You can use as many dynamic parameters as needed (
{{1}},{{2}},{{3}}, …). - Make sure the correct values are provided for each parameter when sending the message.
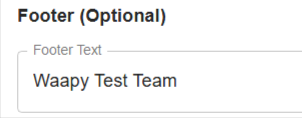
Step 5 : Footer
Step 6 : Button
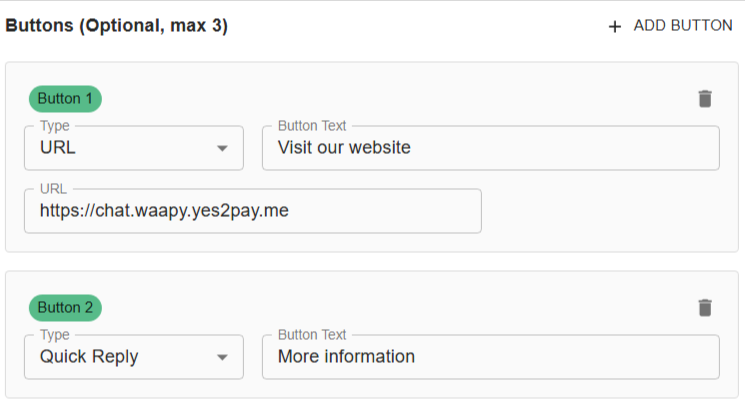
- Make sure the URL is valid and points to an existing website.
- You can name the button anything you like.
Example:
Button name:
"Visit our website"
Action: Opens your website when clicked.
2. Quick Reply Button
You can also add a quick reply button that allows the user to continue the chat with a single tap.
- You can name the button as you like.
- When the user taps it, the predefined message or action is triggered.
Example:
Button name:
"More information"
Action: Sends a quick reply to continue the conversation.
Step 7 : Preview
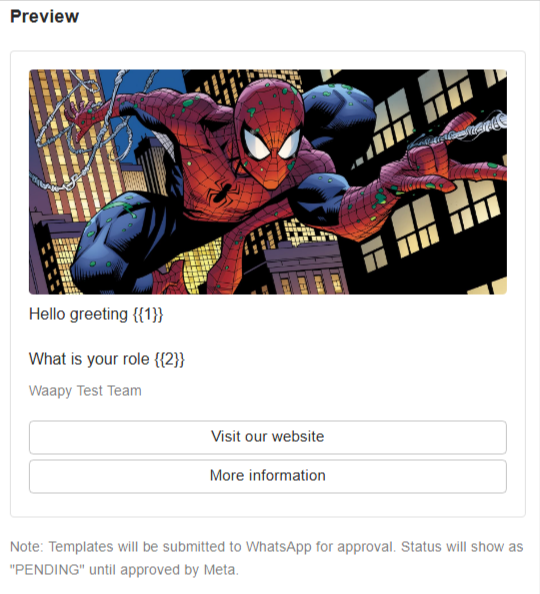
On the right side of the form, you can see a preview of the content template you have entered.
- This allows you to check how your message will look before sending.
- Make sure to review the dynamic parameters, buttons, and text formatting in the preview to ensure everything appears correctly.
Tip:
The preview updates automatically as you make changes to the template, so you can see real-time adjustments
Step 8 : Overview

- After you’ve completed filling out the form, you can click the Create Template button.
- You’ll then need to wait for Meta to approve your template.
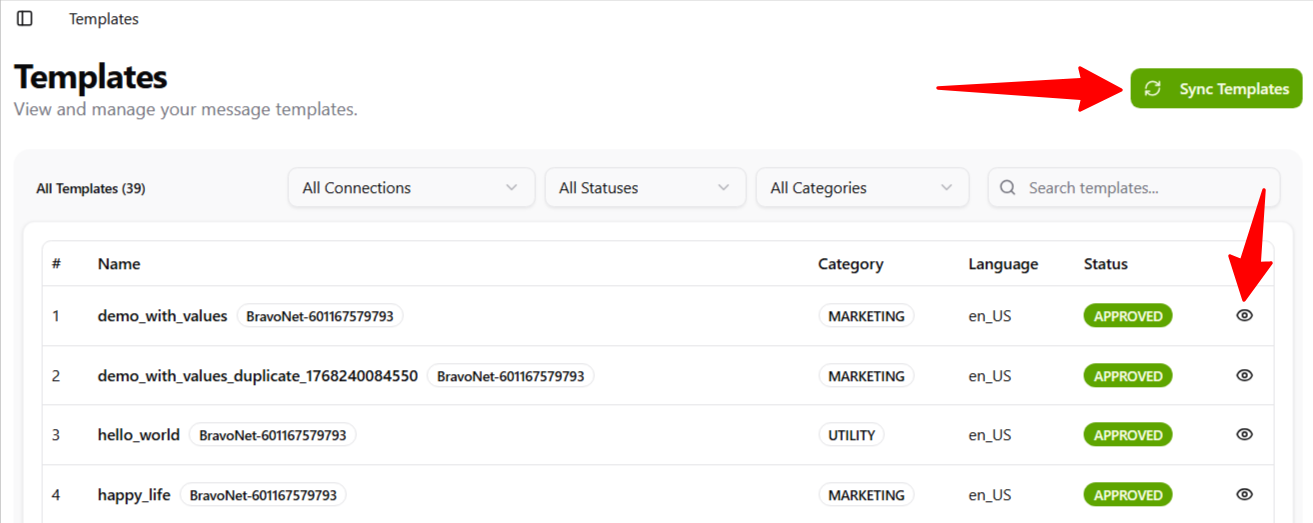
Step 9 : Sync Template
- After you create the template, go to the Template page in Outreach, then click Sync Template to reload the newly approved template. You can also preview the template there