The Products Menu and how to import
Importing Products from a Spreadsheet
Put one product on each row. These are the columns that matter most for our store.
Column heading | Required | What to put in it |
|---|---|---|
SKU | Yes | The part number or unique code. No two products may share the same SKU. |
Name | Yes | The full product name as the customer should see it. |
Published | Yes | Type 1 to make it live. Type 0 to keep it hidden as a draft. |
Regular price | Yes | Numbers only. No RM symbol, no comma. Example: 249.90 |
Sale price | No | Leave the cell empty if there is no discount. |
Stock | No | How many you hold. |
In stock? | No | Type 1 for in stock, 0 for out of stock. |
Categories | No | For example: Brake Pad, Air Filter, Engine Oil. Use > for a sub-category. |
Brands | No | The manufacturer name, for example Textar or Petronas. |
Images | No | Full web links starting with https://, separated by commas. The first one becomes the main photo. |
Description | No | The long description shown on the product page. |
Short description | No | Two or three lines shown next to the price. |
Weight (kg) | No | Numbers only. |
Writing good product names
Include the part number and the vehicle it fits, because that is how customers search:
- Good:
BRAKE PAD TEXTAR 34 10 6 860 019 FRT MINI COUNTRYMAN - Poor:
Brake pad front
Keeping SKUs clean
The SKU should be a short part code, not the full product name repeated. A long SKU gets cut off in the products list and is harder to search for later.
- Good:
34106860019 - Poor:
BRAKE PAD TEXTAR 34 10 6 860 0
Saving the File Correctly
In Excel: File > Save As > choose CSV UTF-8 (Comma delimited)
In Google Sheets: File > Download > Comma Separated Values (.csv)
⚠ Choose UTF-8, not plain CSV. If you pick plain CSV in Excel, special characters turn into strange symbols on the website. This is the most common mistake staff make.
Running the Import
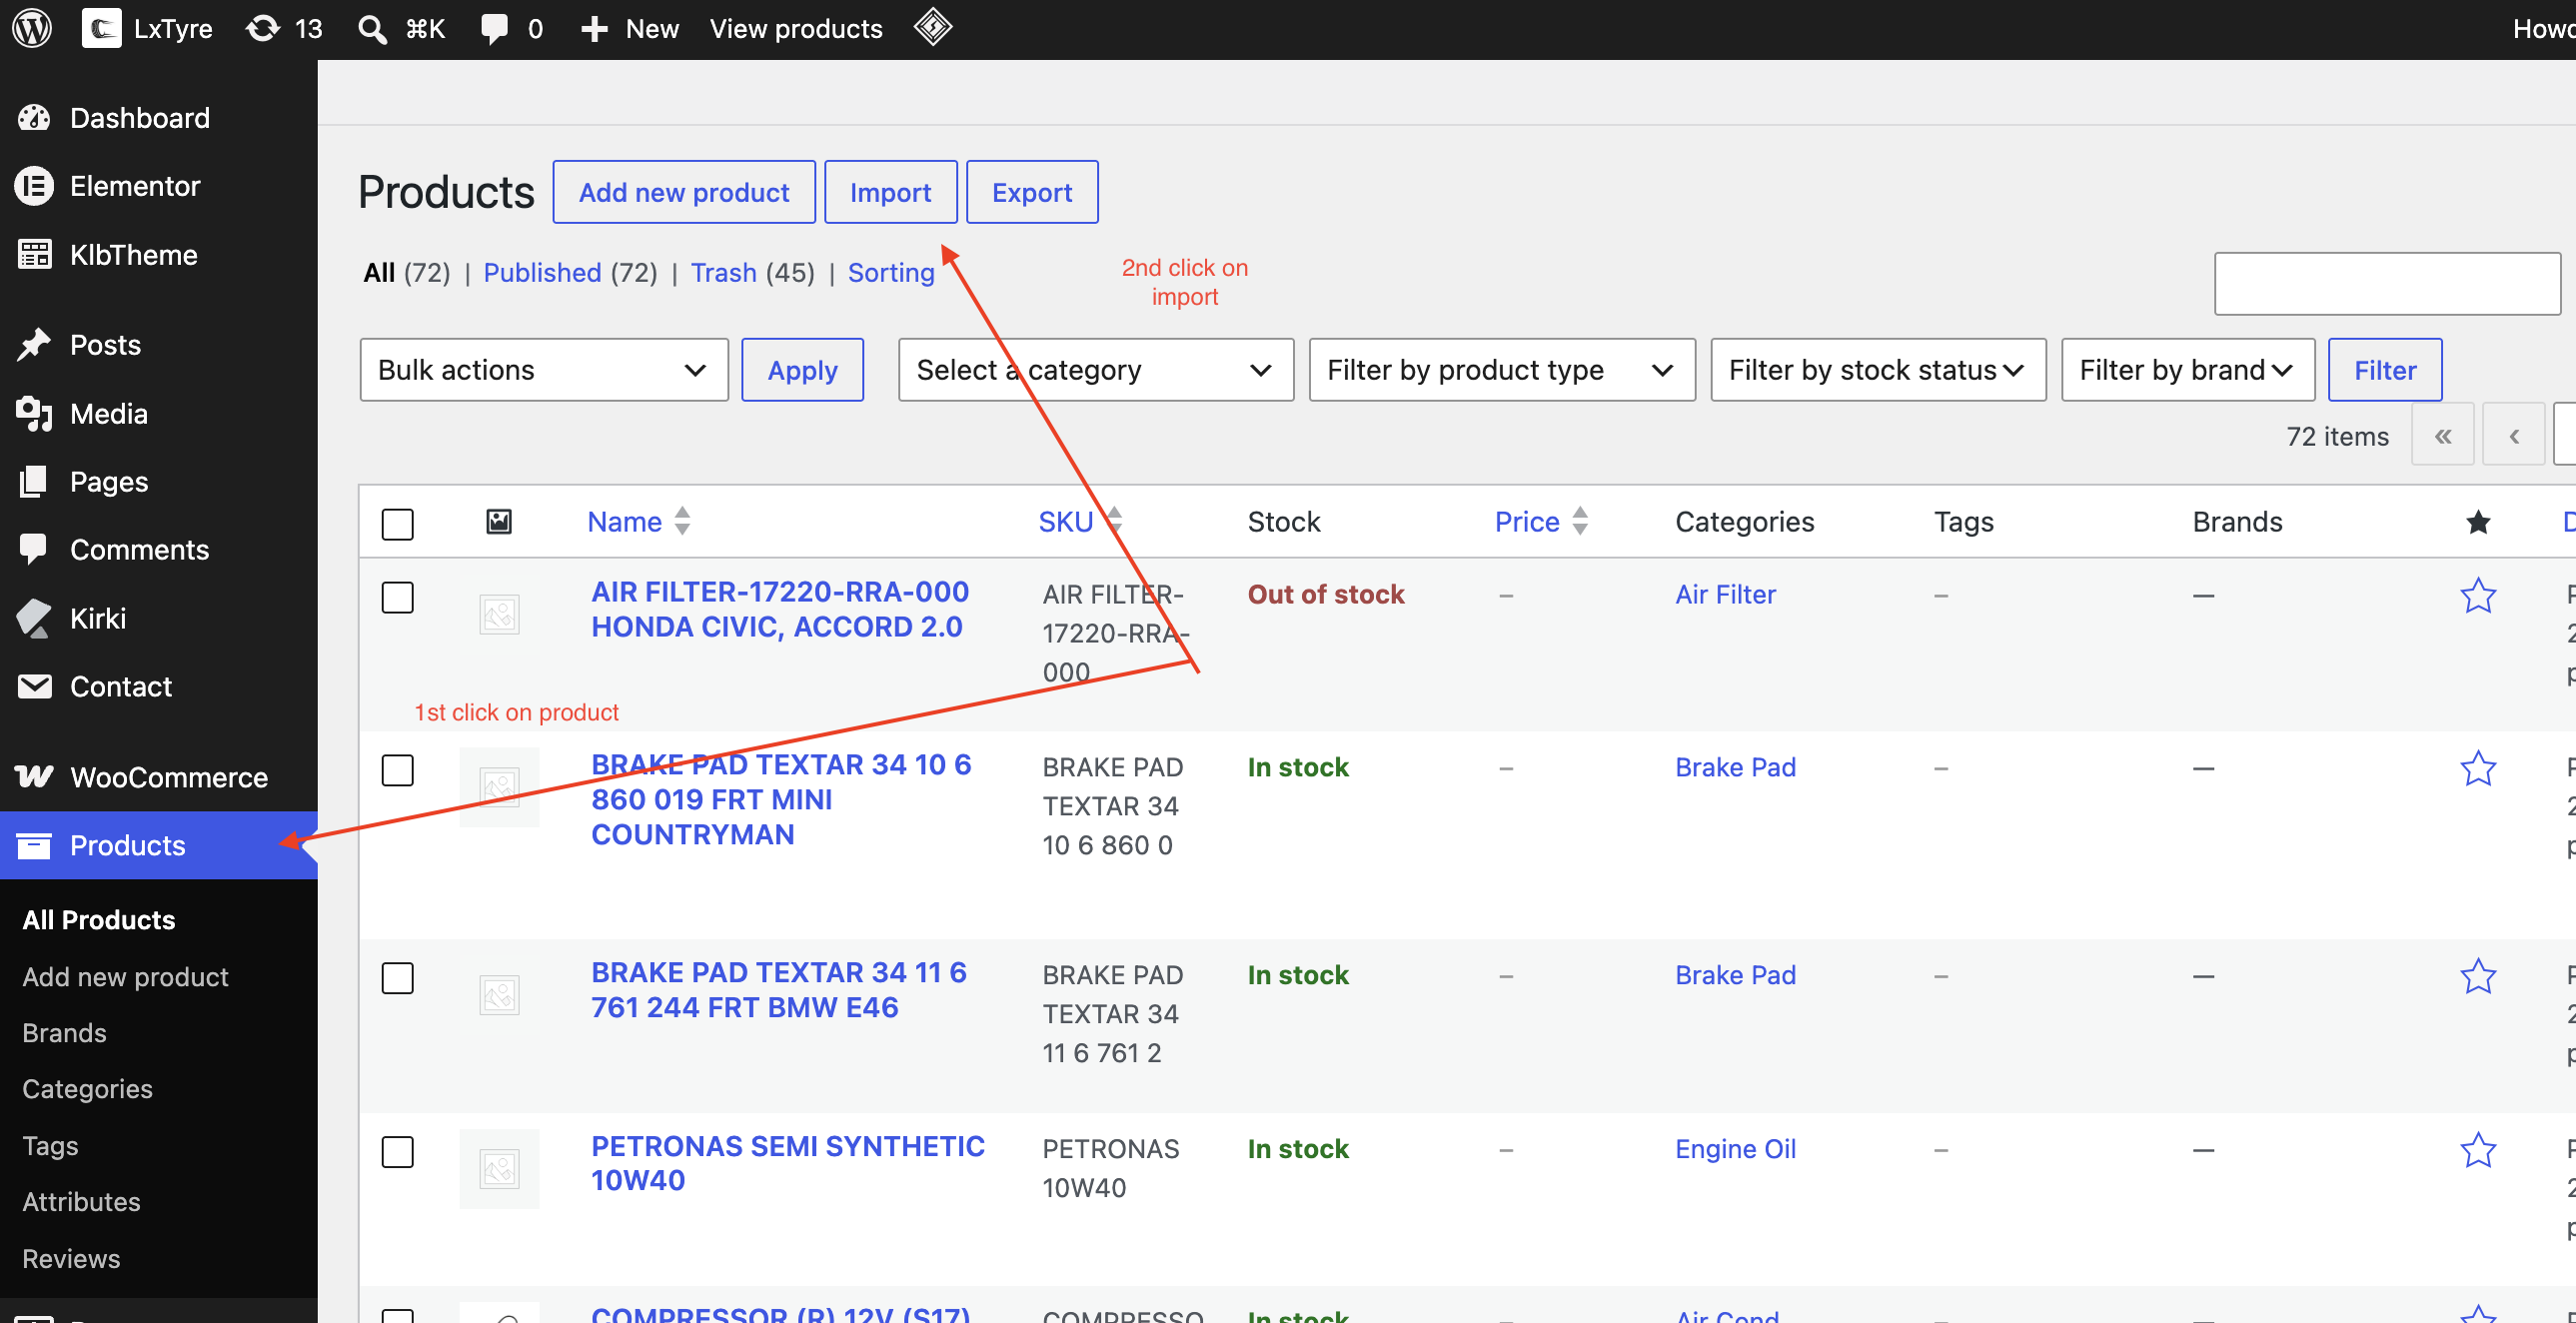
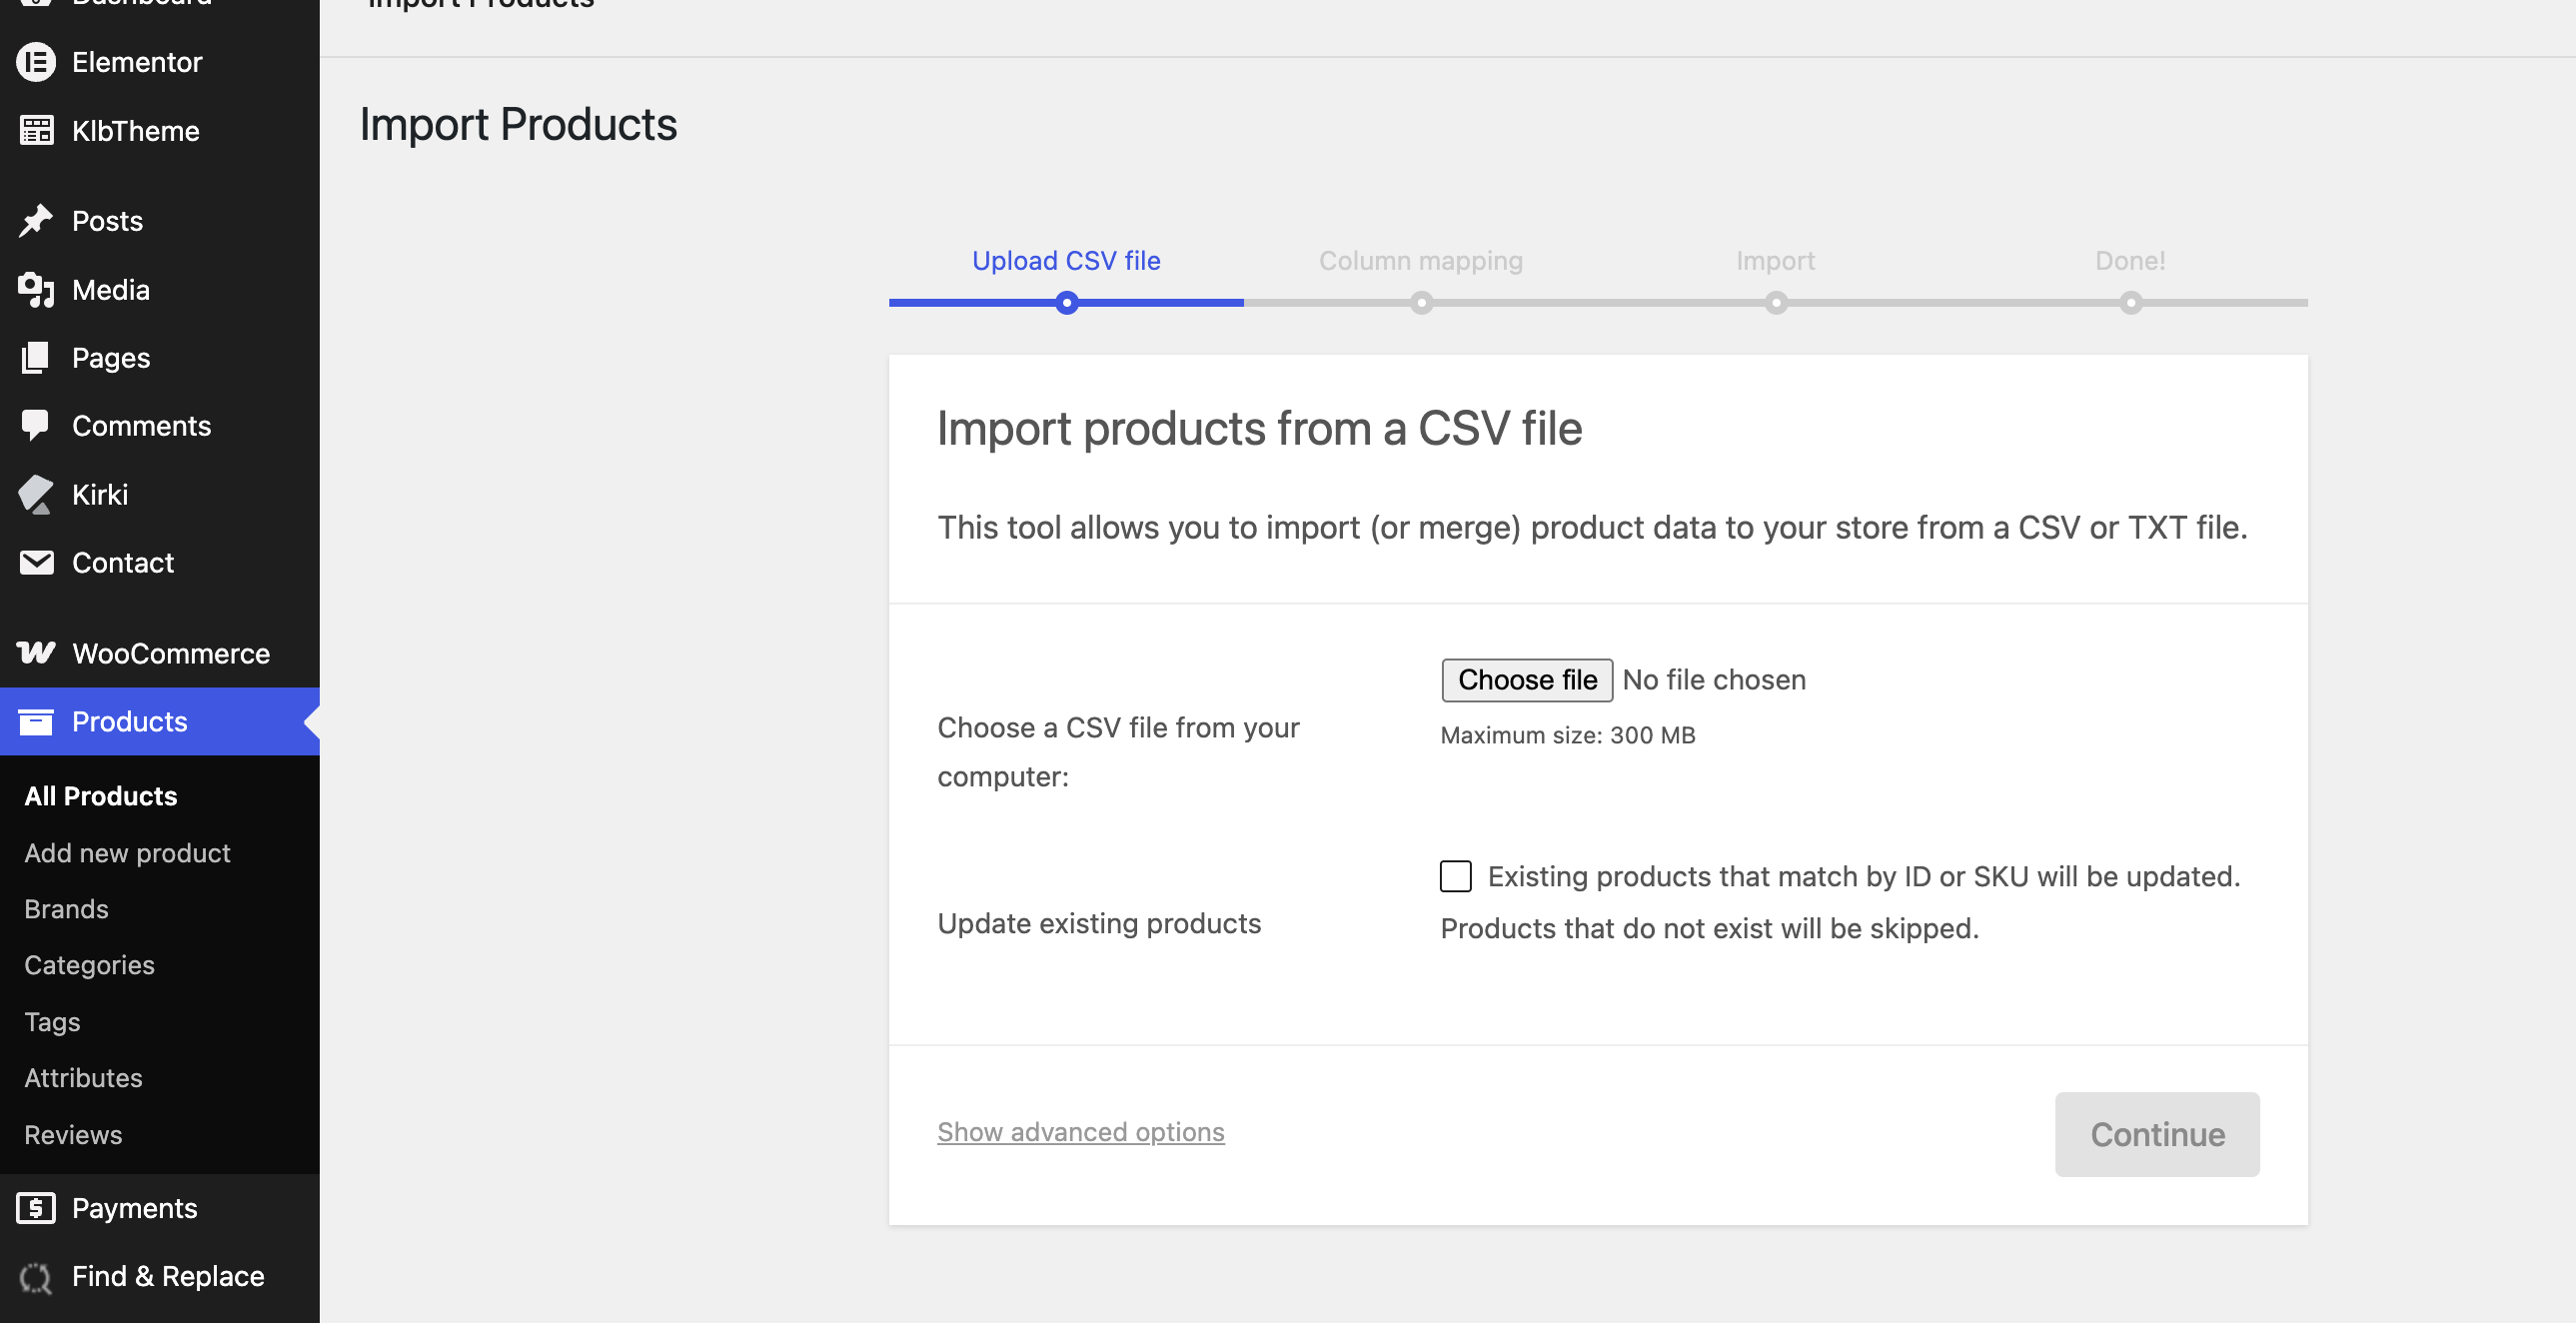
- Go to Products and click Import at the top of the page.
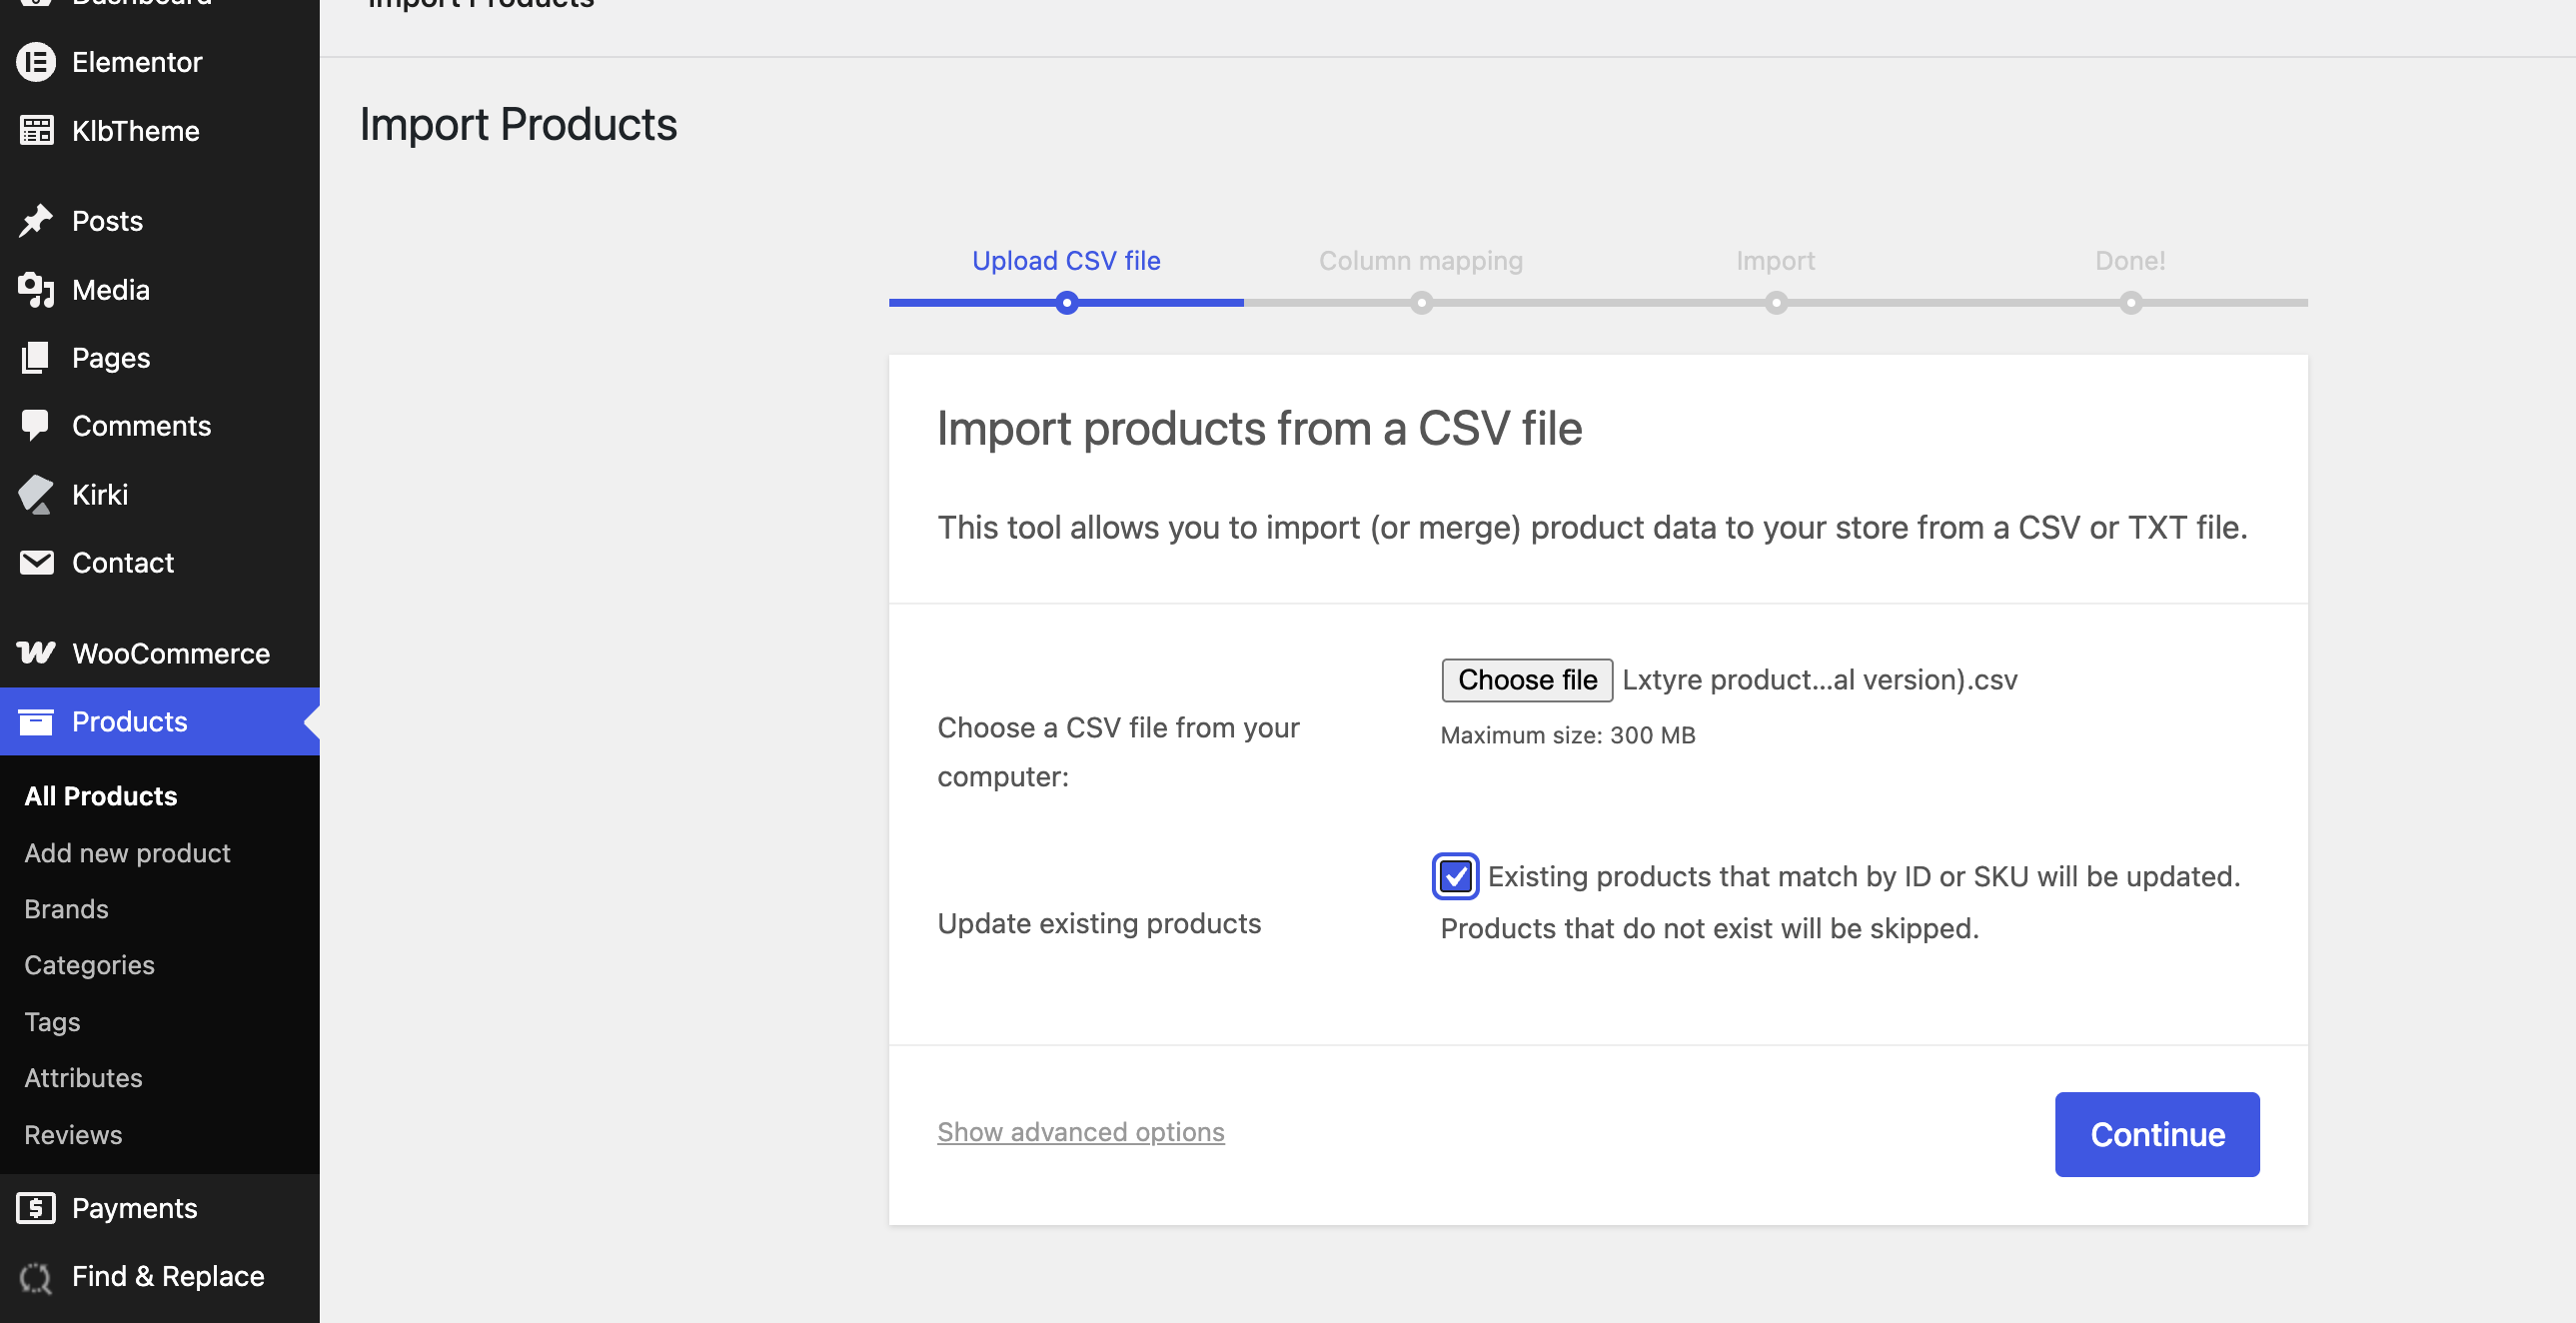
- Click Choose File and select your CSV from your computer.
- If you are updating products that already exist: click Advanced options below the file box, then tick Update existing products. Skip this step if you are adding brand new products only.
- Click Continue.
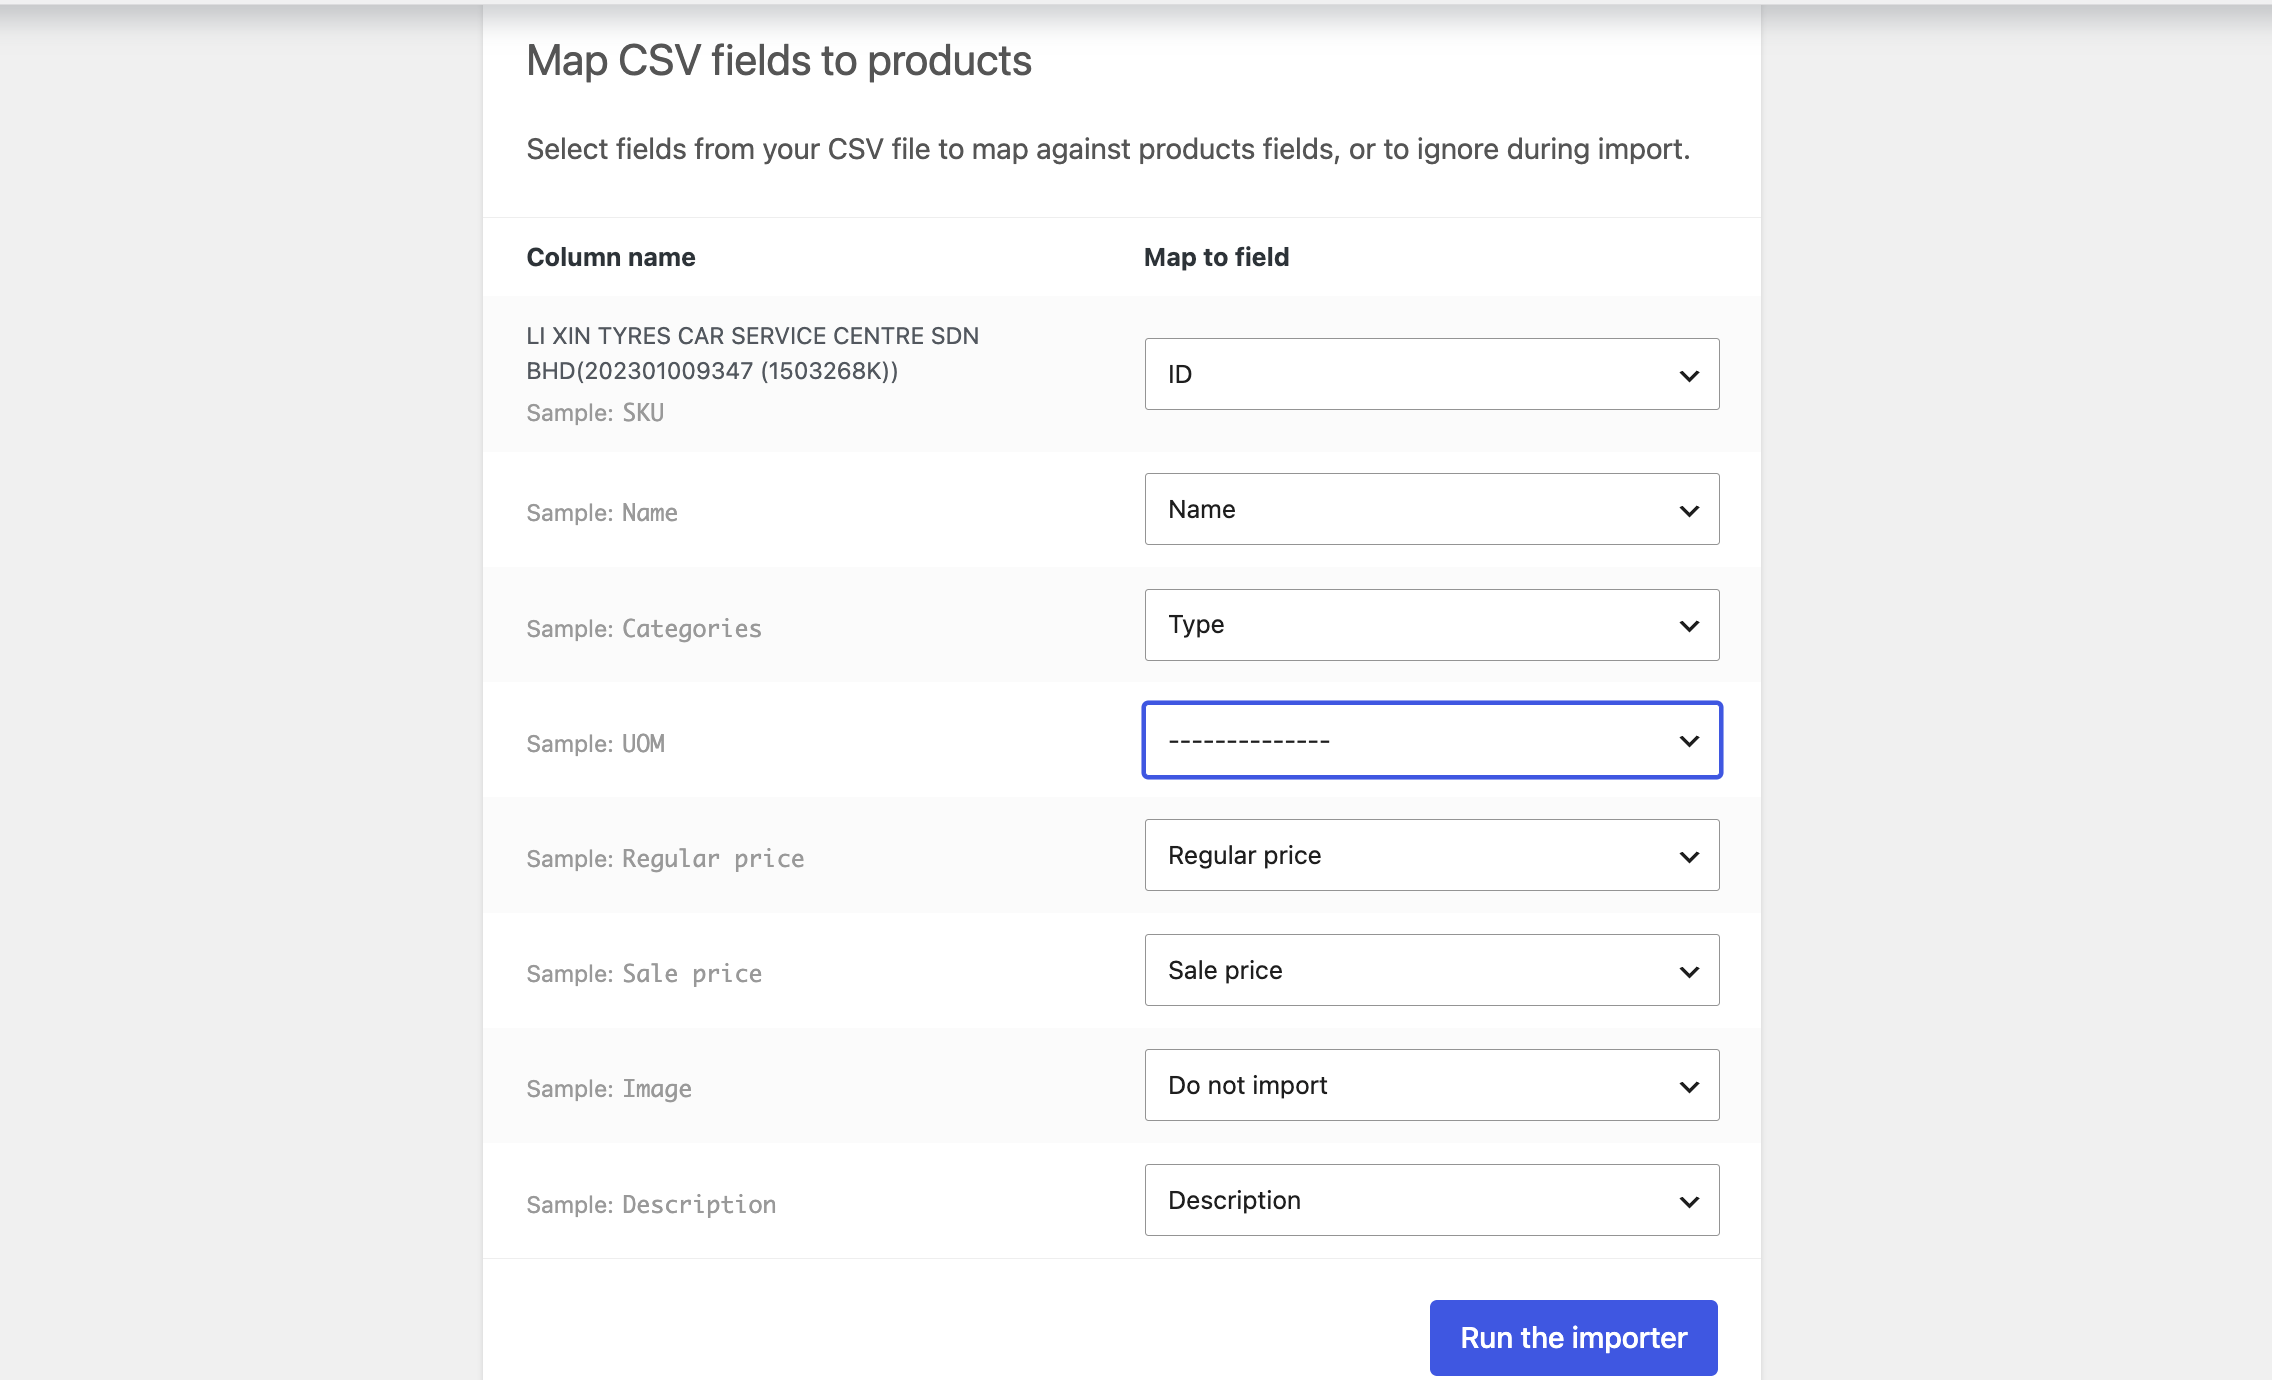
- A Column Mapping screen appears. The left column shows your spreadsheet headings. The right column shows where each one will be saved.
- Read down the list. Most rows fill themselves in correctly. Any heading WooCommerce does not recognise shows as Do not import — either choose the correct destination from the dropdown, or leave it if that column is not needed.
- Click Run the importer.
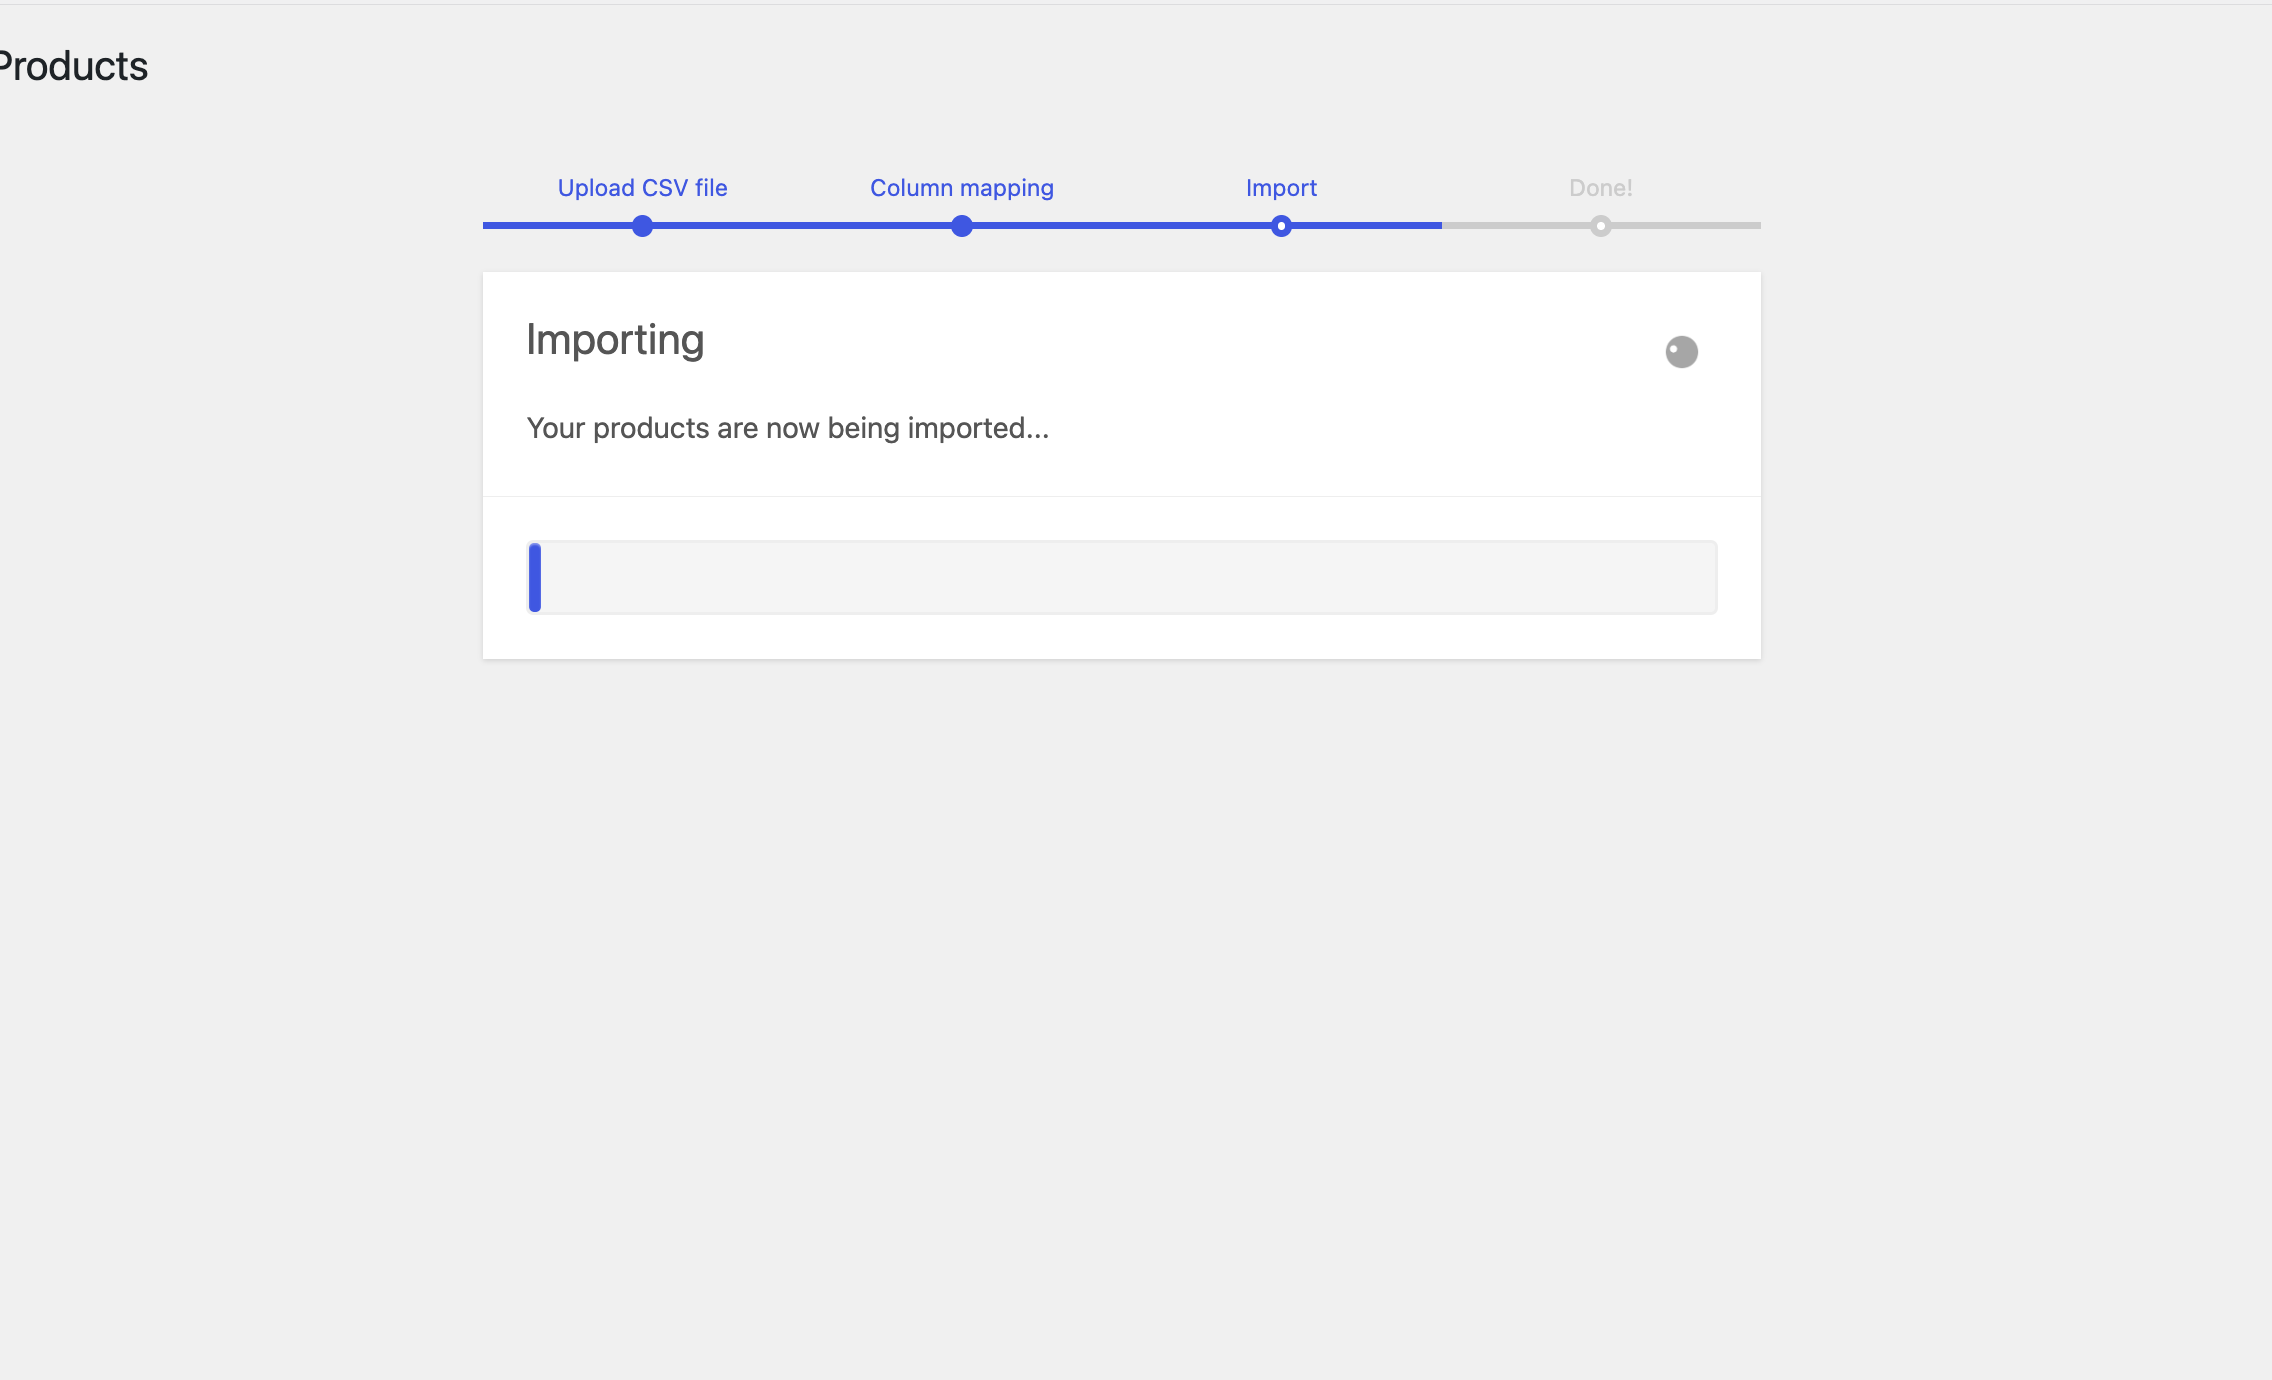
- A progress bar appears. Do not close the tab, refresh the page, or press the back button. A few hundred products can take several minutes.
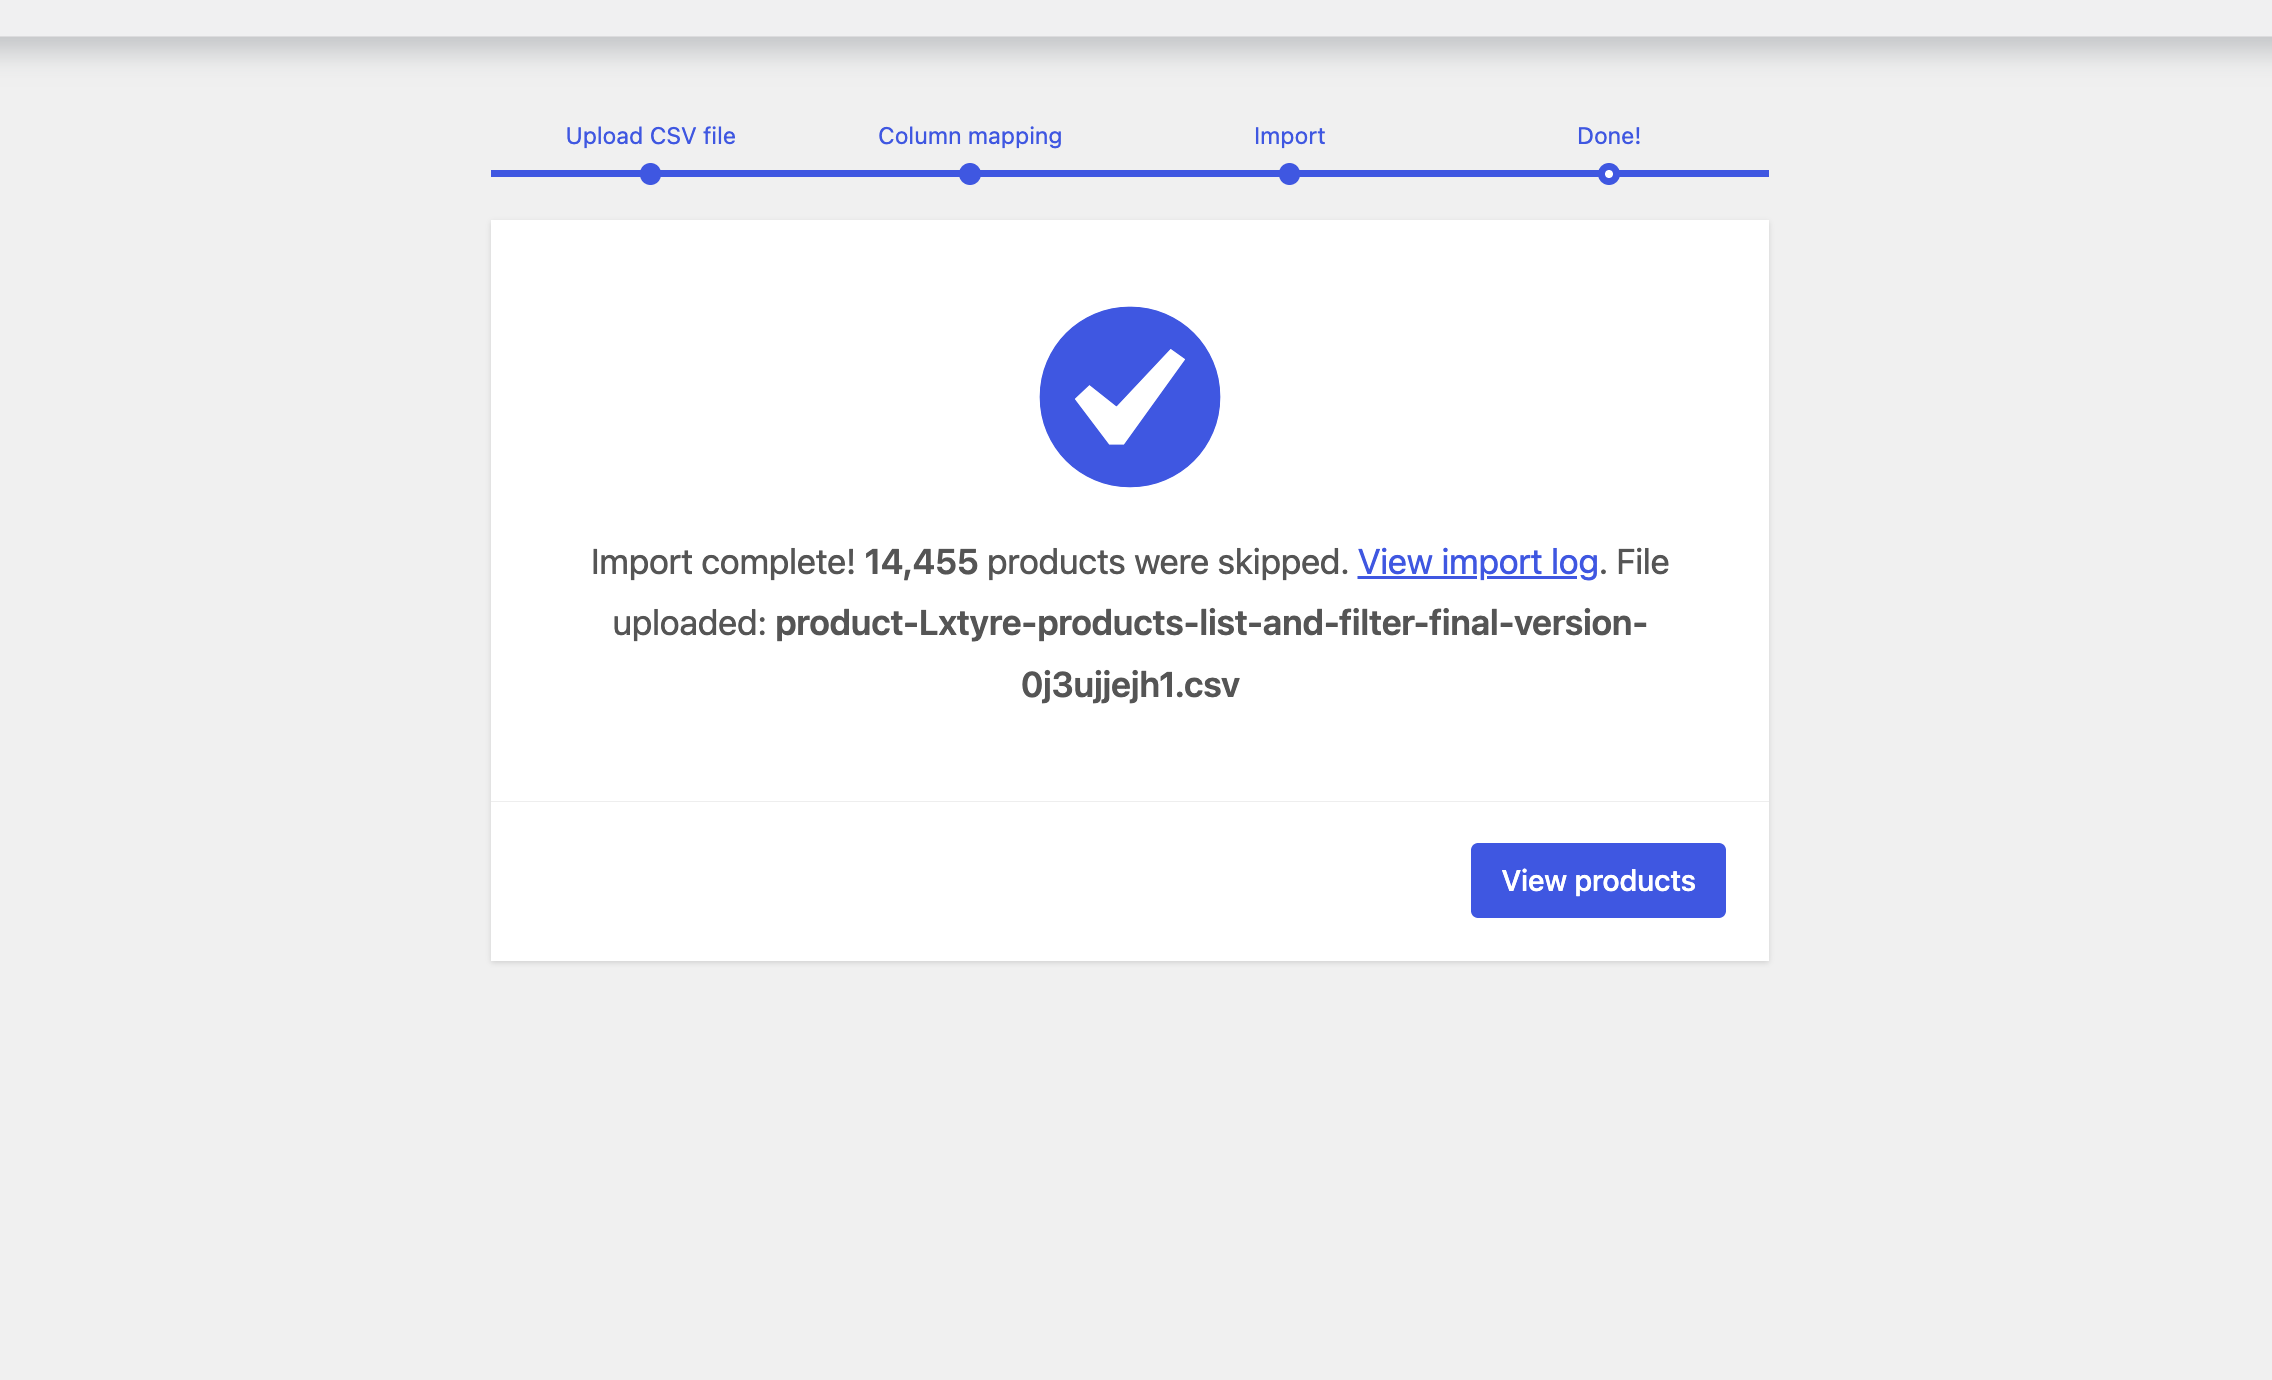
- When it finishes, read the summary. It tells you how many products were imported, updated, skipped or failed.
A Column Mapping screen appears. The left column shows your spreadsheet headings. The right column shows where each one will be saved and click on importer and done.