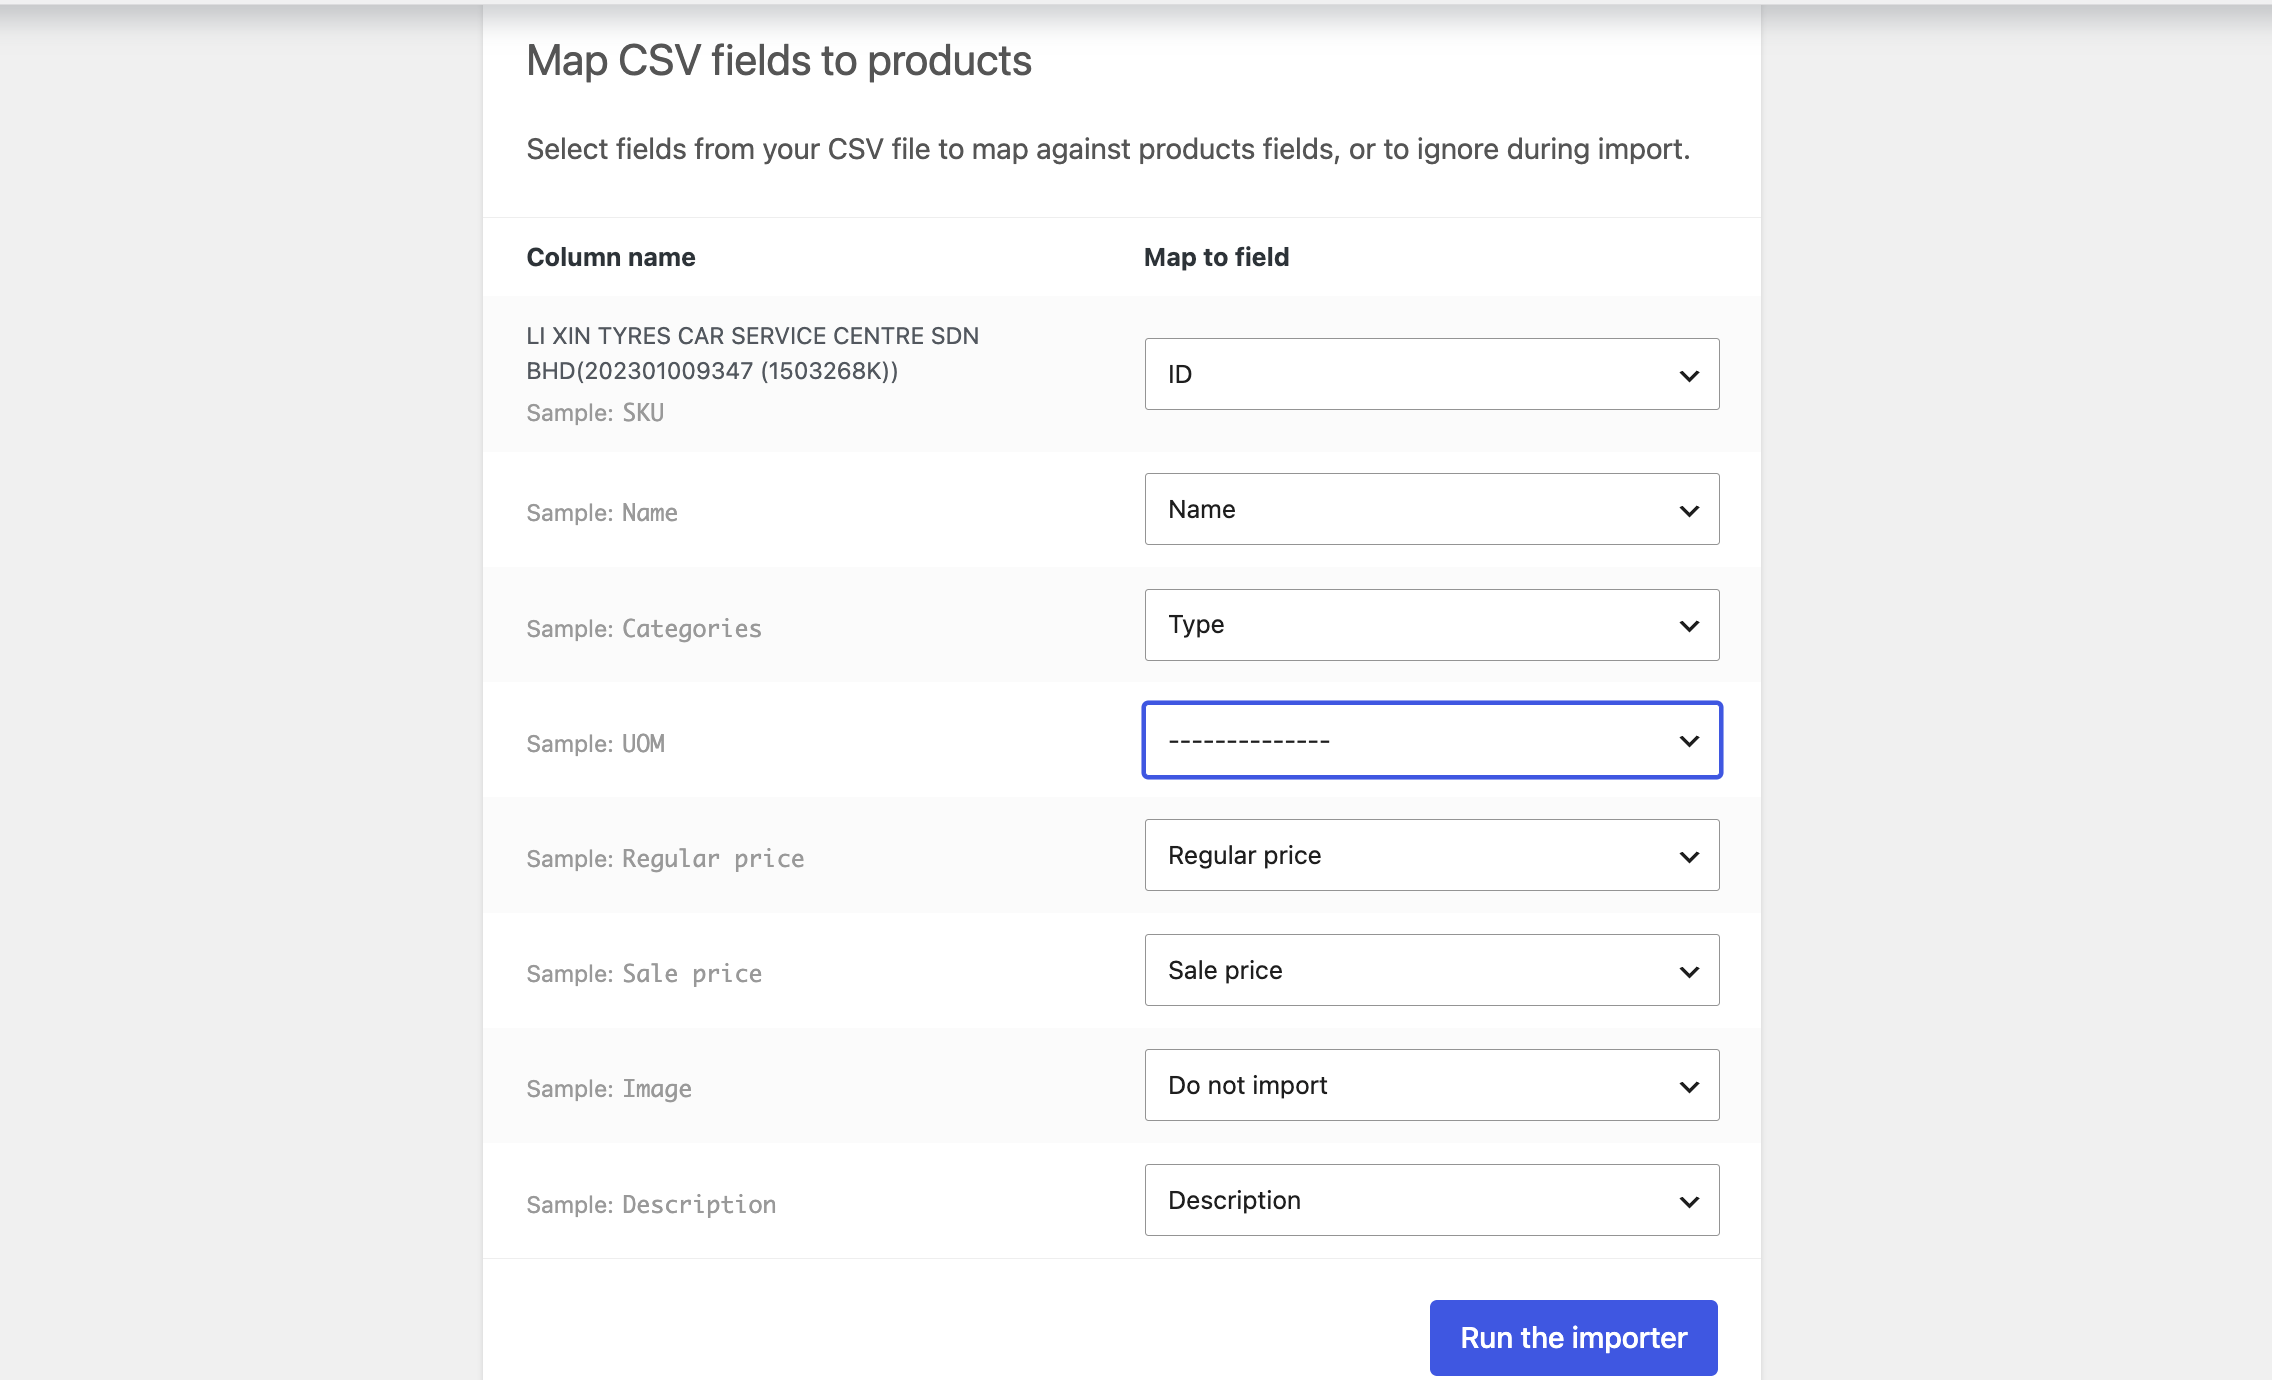
The Products Menu
Importing Products from a Spreadsheet
Put one product on each row. These are the columns that matter most for our store.
Column heading | Required | What to put in it |
|---|---|---|
SKU | Yes | The part number or unique code. No two products may share the same SKU. |
Name | Yes | The full product name as the customer should see it. |
Published | Yes | Type 1 to make it live. Type 0 to keep it hidden as a draft. |
Regular price | Yes | Numbers only. No RM symbol, no comma. Example: 249.90 |
Sale price | No | Leave the cell empty if there is no discount. |
Stock | No | How many you hold. |
In stock? | No | Type 1 for in stock, 0 for out of stock. |
Categories | No | For example: Brake Pad, Air Filter, Engine Oil. Use > for a sub-category. |
Brands | No | The manufacturer name, for example Textar or Petronas. |
Images | No | Full web links starting with https://, separated by commas. The first one becomes the main photo. |
Description | No | The long description shown on the product page. |
Short description | No | Two or three lines shown next to the price. |
Weight (kg) | No | Numbers only. |
Writing good product names
Include the part number and the vehicle it fits, because that is how customers search:
- Good:
BRAKE PAD TEXTAR 34 10 6 860 019 FRT MINI COUNTRYMAN - Poor:
Brake pad front
Keeping SKUs clean
The SKU should be a short part code, not the full product name repeated. A long SKU gets cut off in the products list and is harder to search for later.
- Good:
34106860019 - Poor:
BRAKE PAD TEXTAR 34 10 6 860 0
Saving the File Correctly
In Excel: File > Save As > choose CSV UTF-8 (Comma delimited)
In Google Sheets: File > Download > Comma Separated Values (.csv)
⚠ Choose UTF-8, not plain CSV. If you pick plain CSV in Excel, special characters turn into strange symbols on the website. This is the most common mistake staff make.
9.5 Running the Import
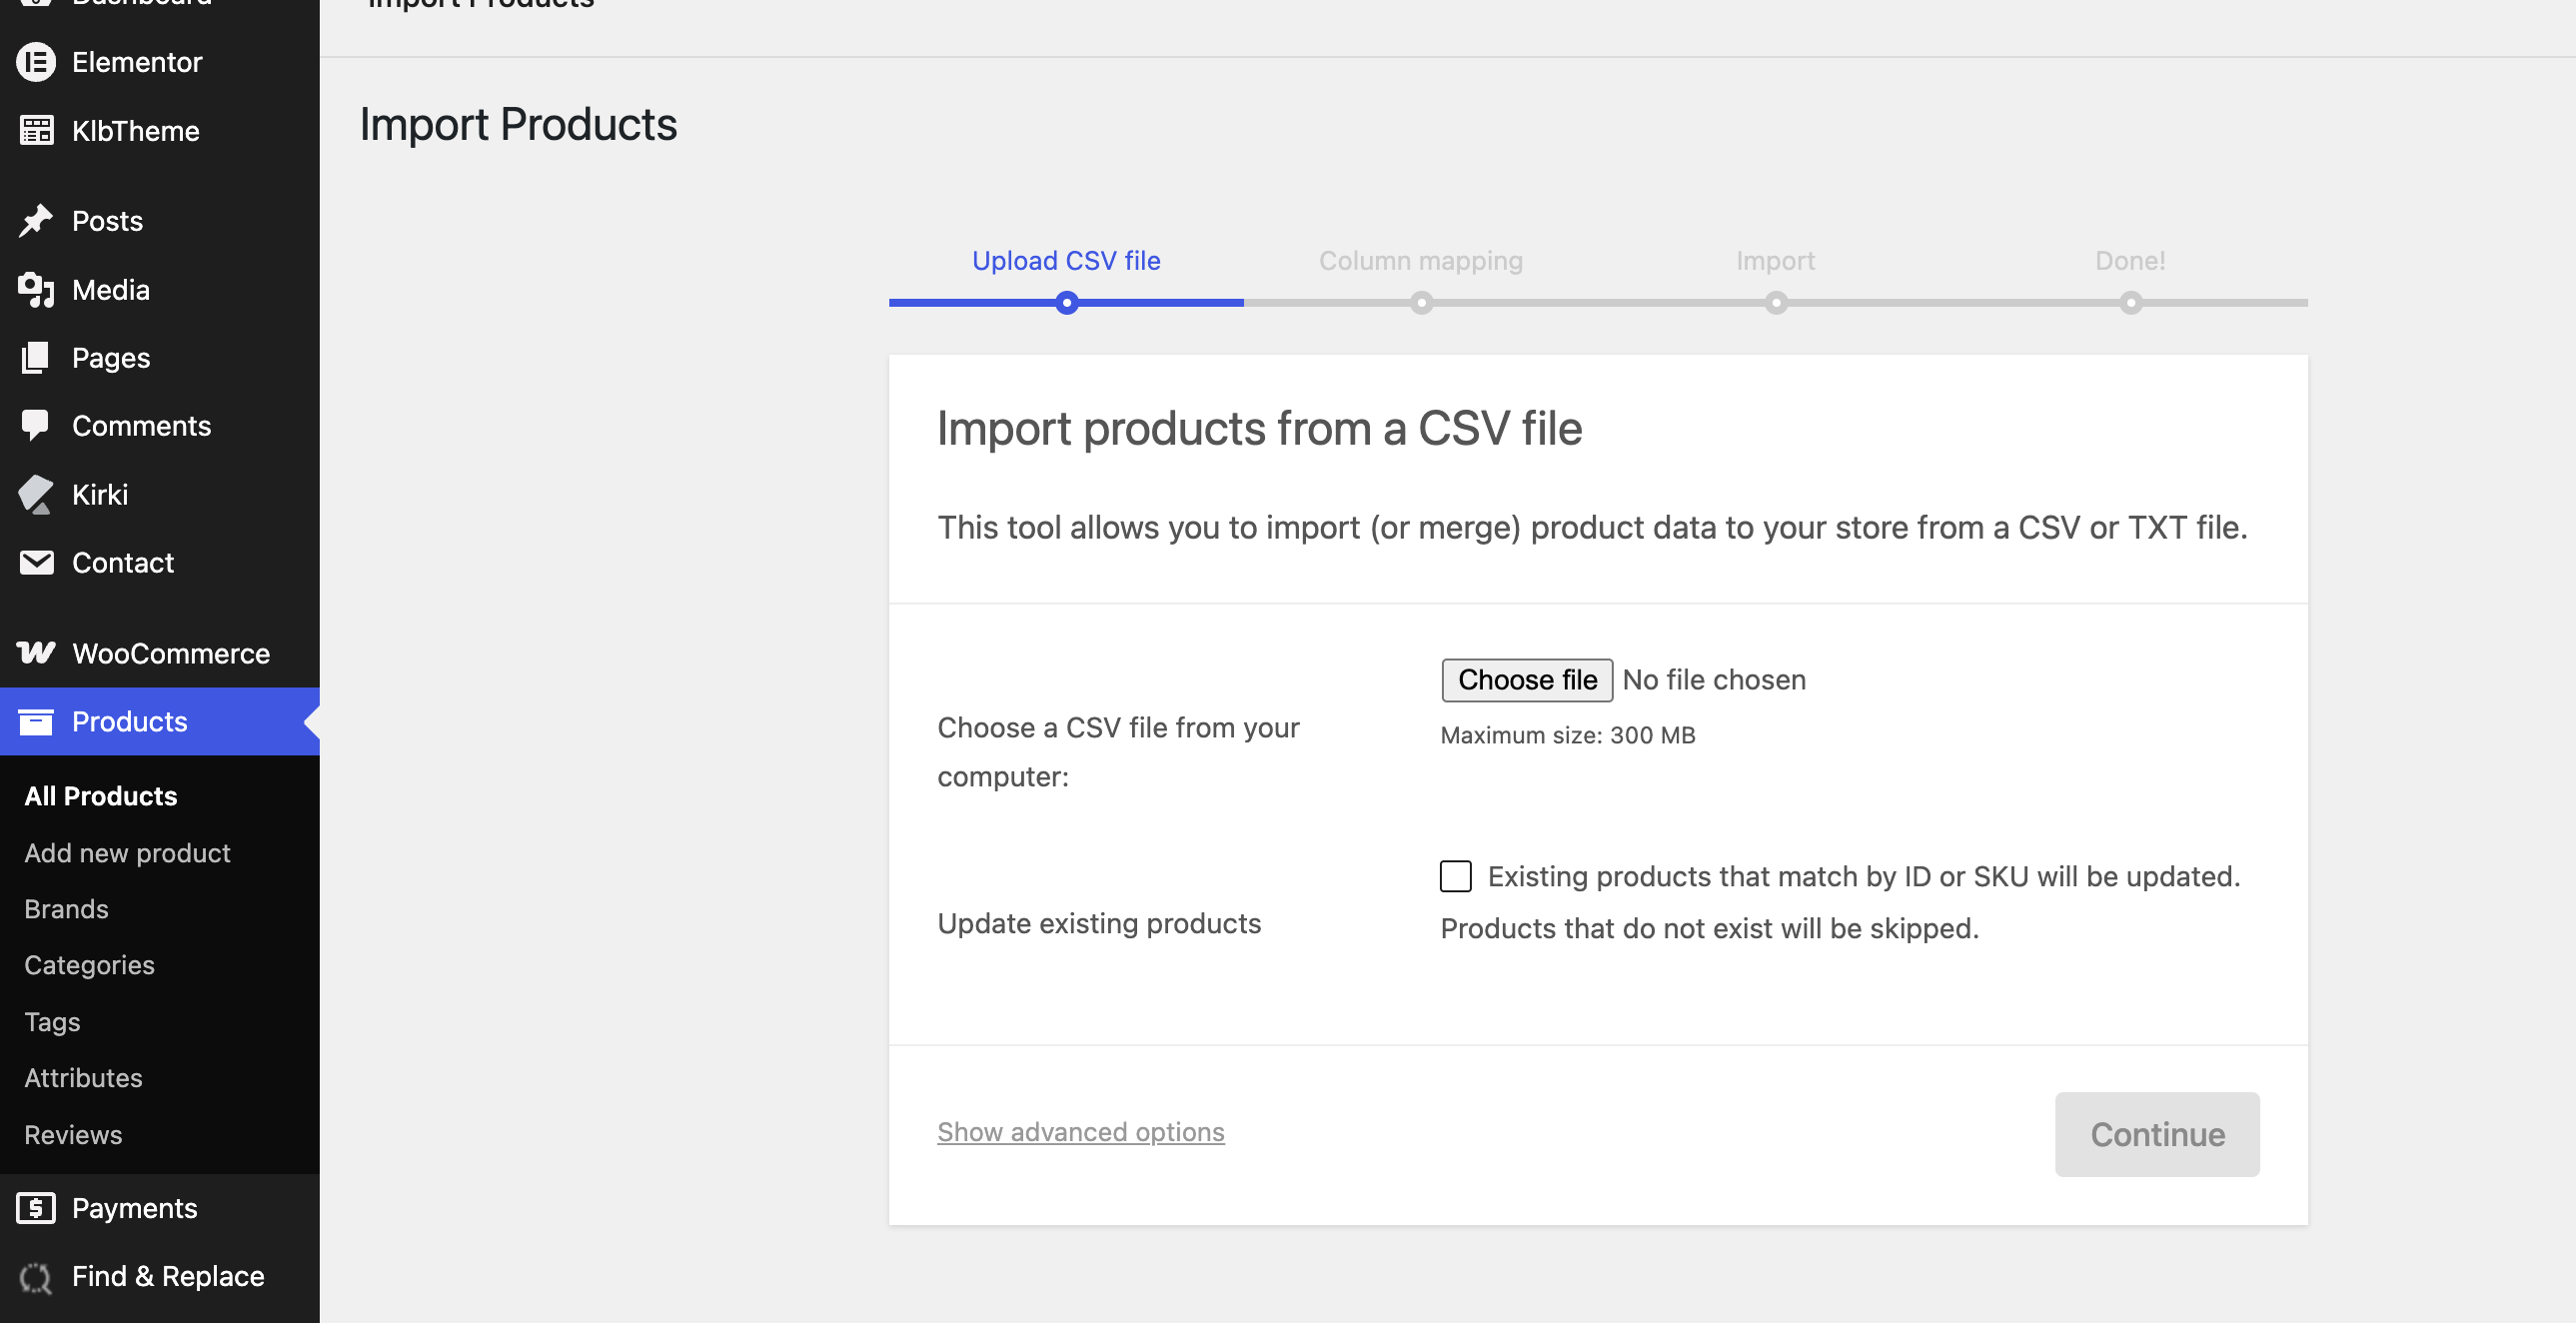
- Go to Products and click Import at the top of the page.
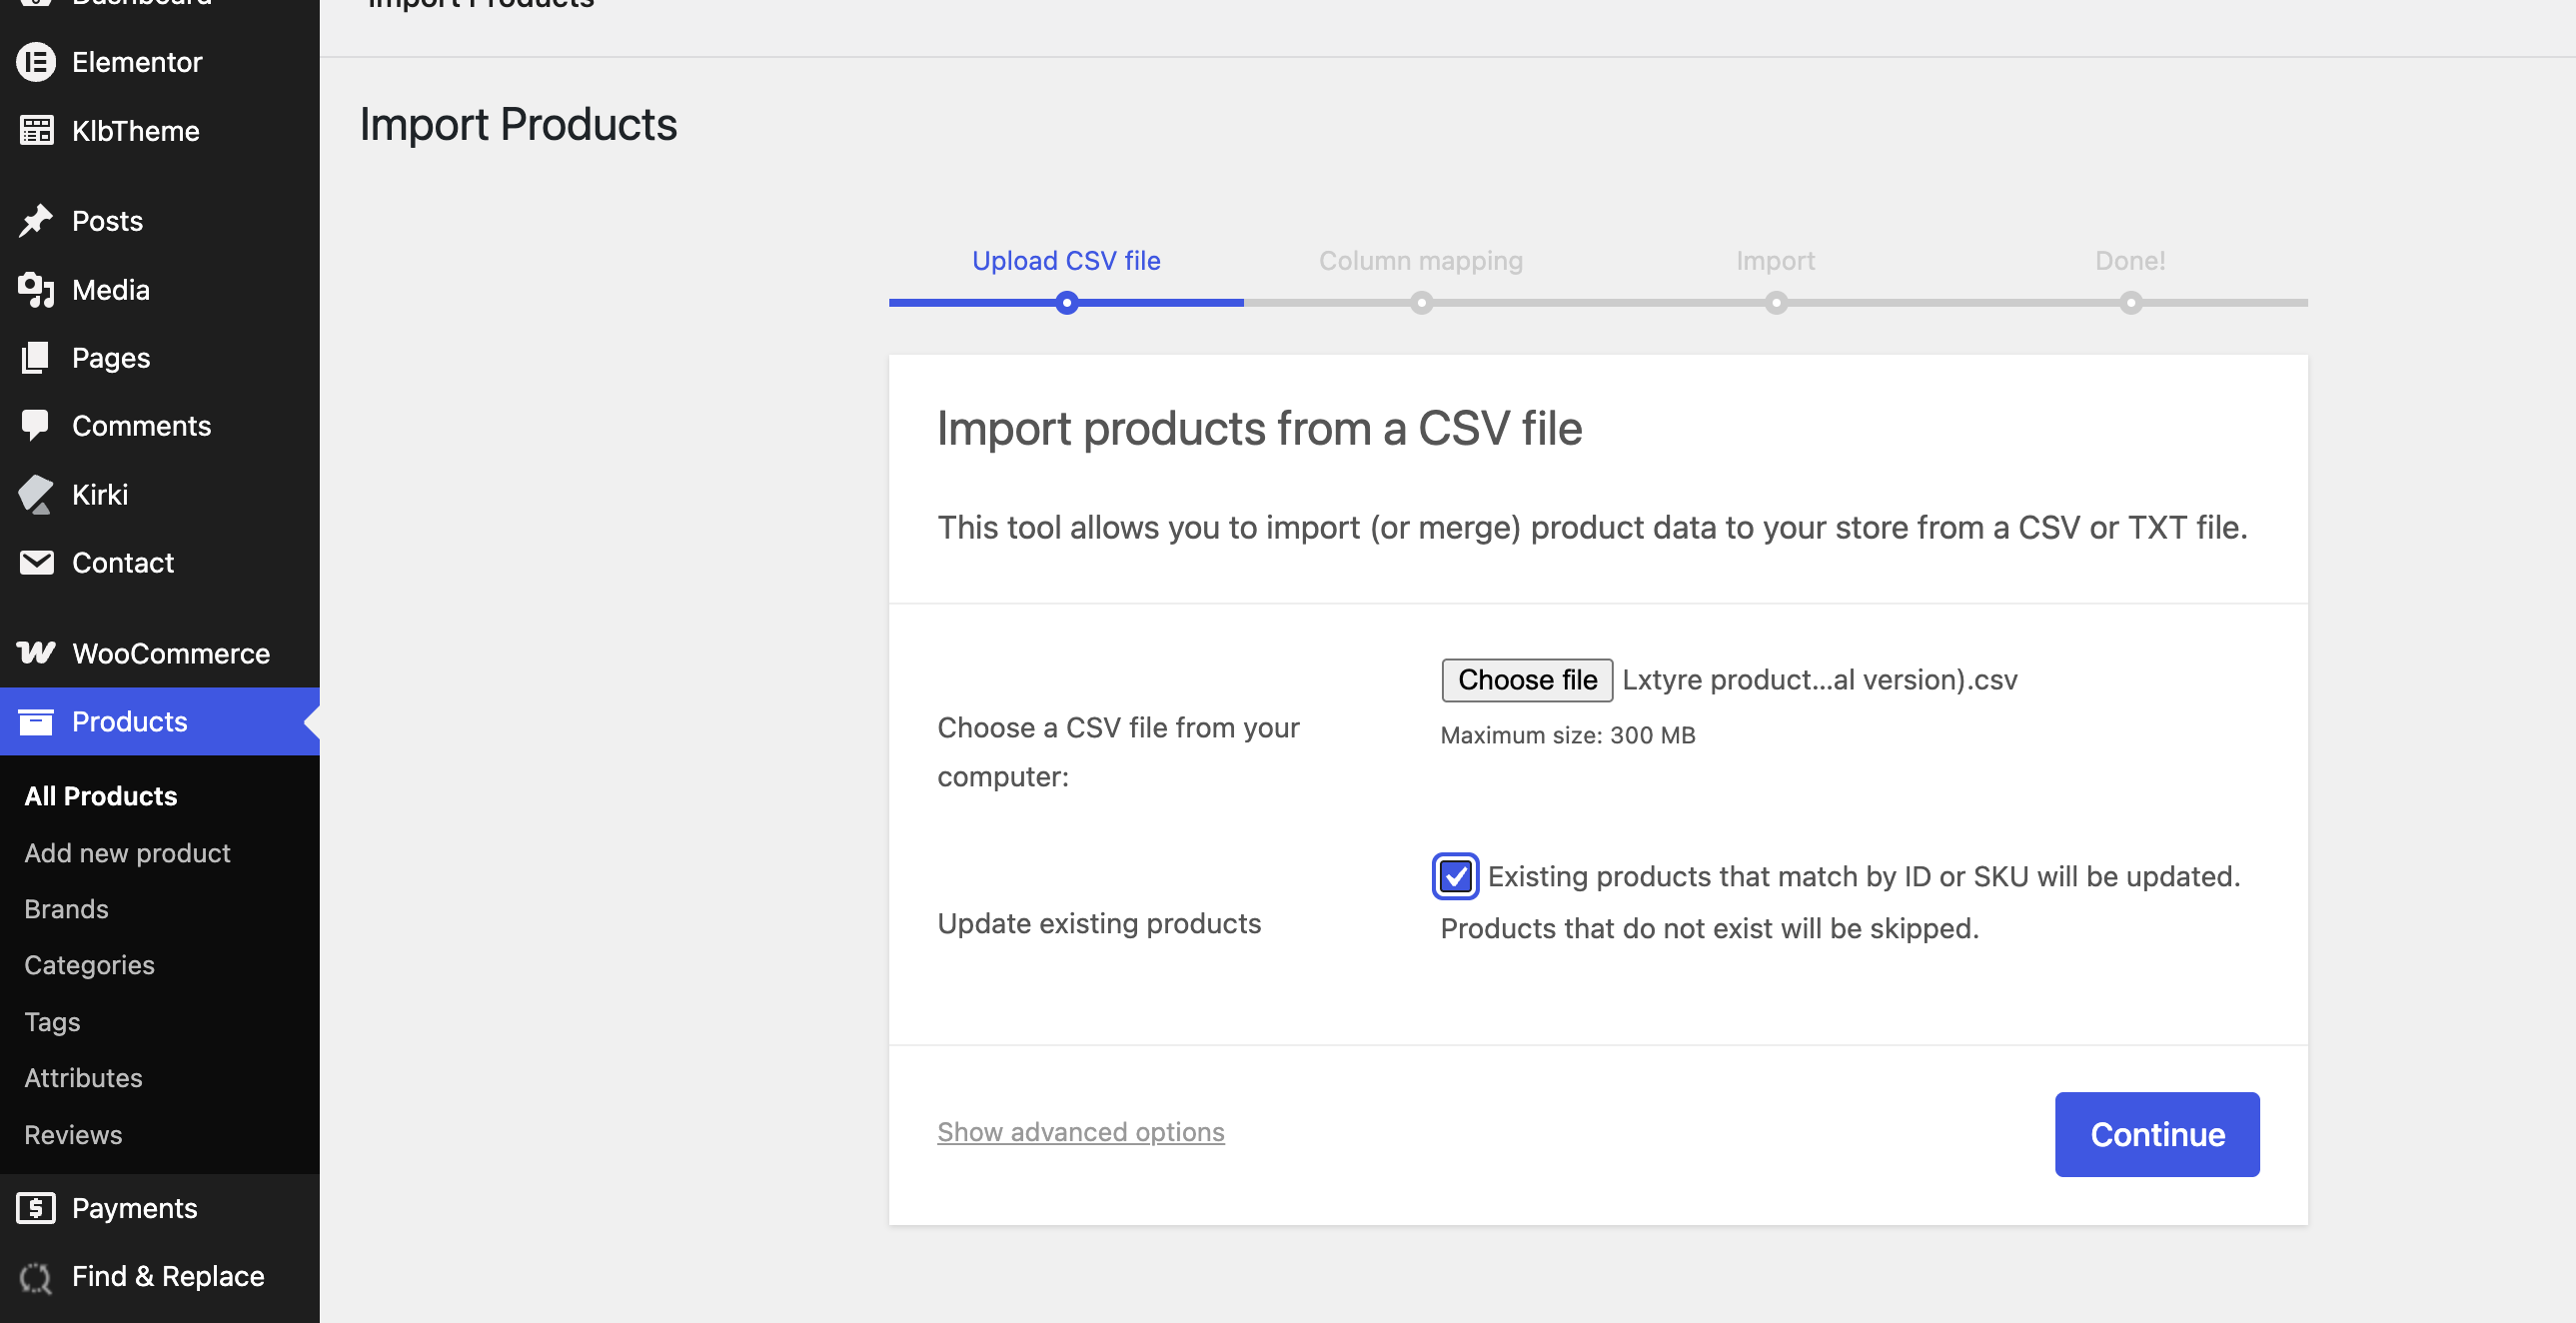
- Click Choose File and select your CSV from your computer.
- If you are updating products that already exist: click Advanced options below the file box, then tick Update existing products. Skip this step if you are adding brand new products only.
- Click Continue.
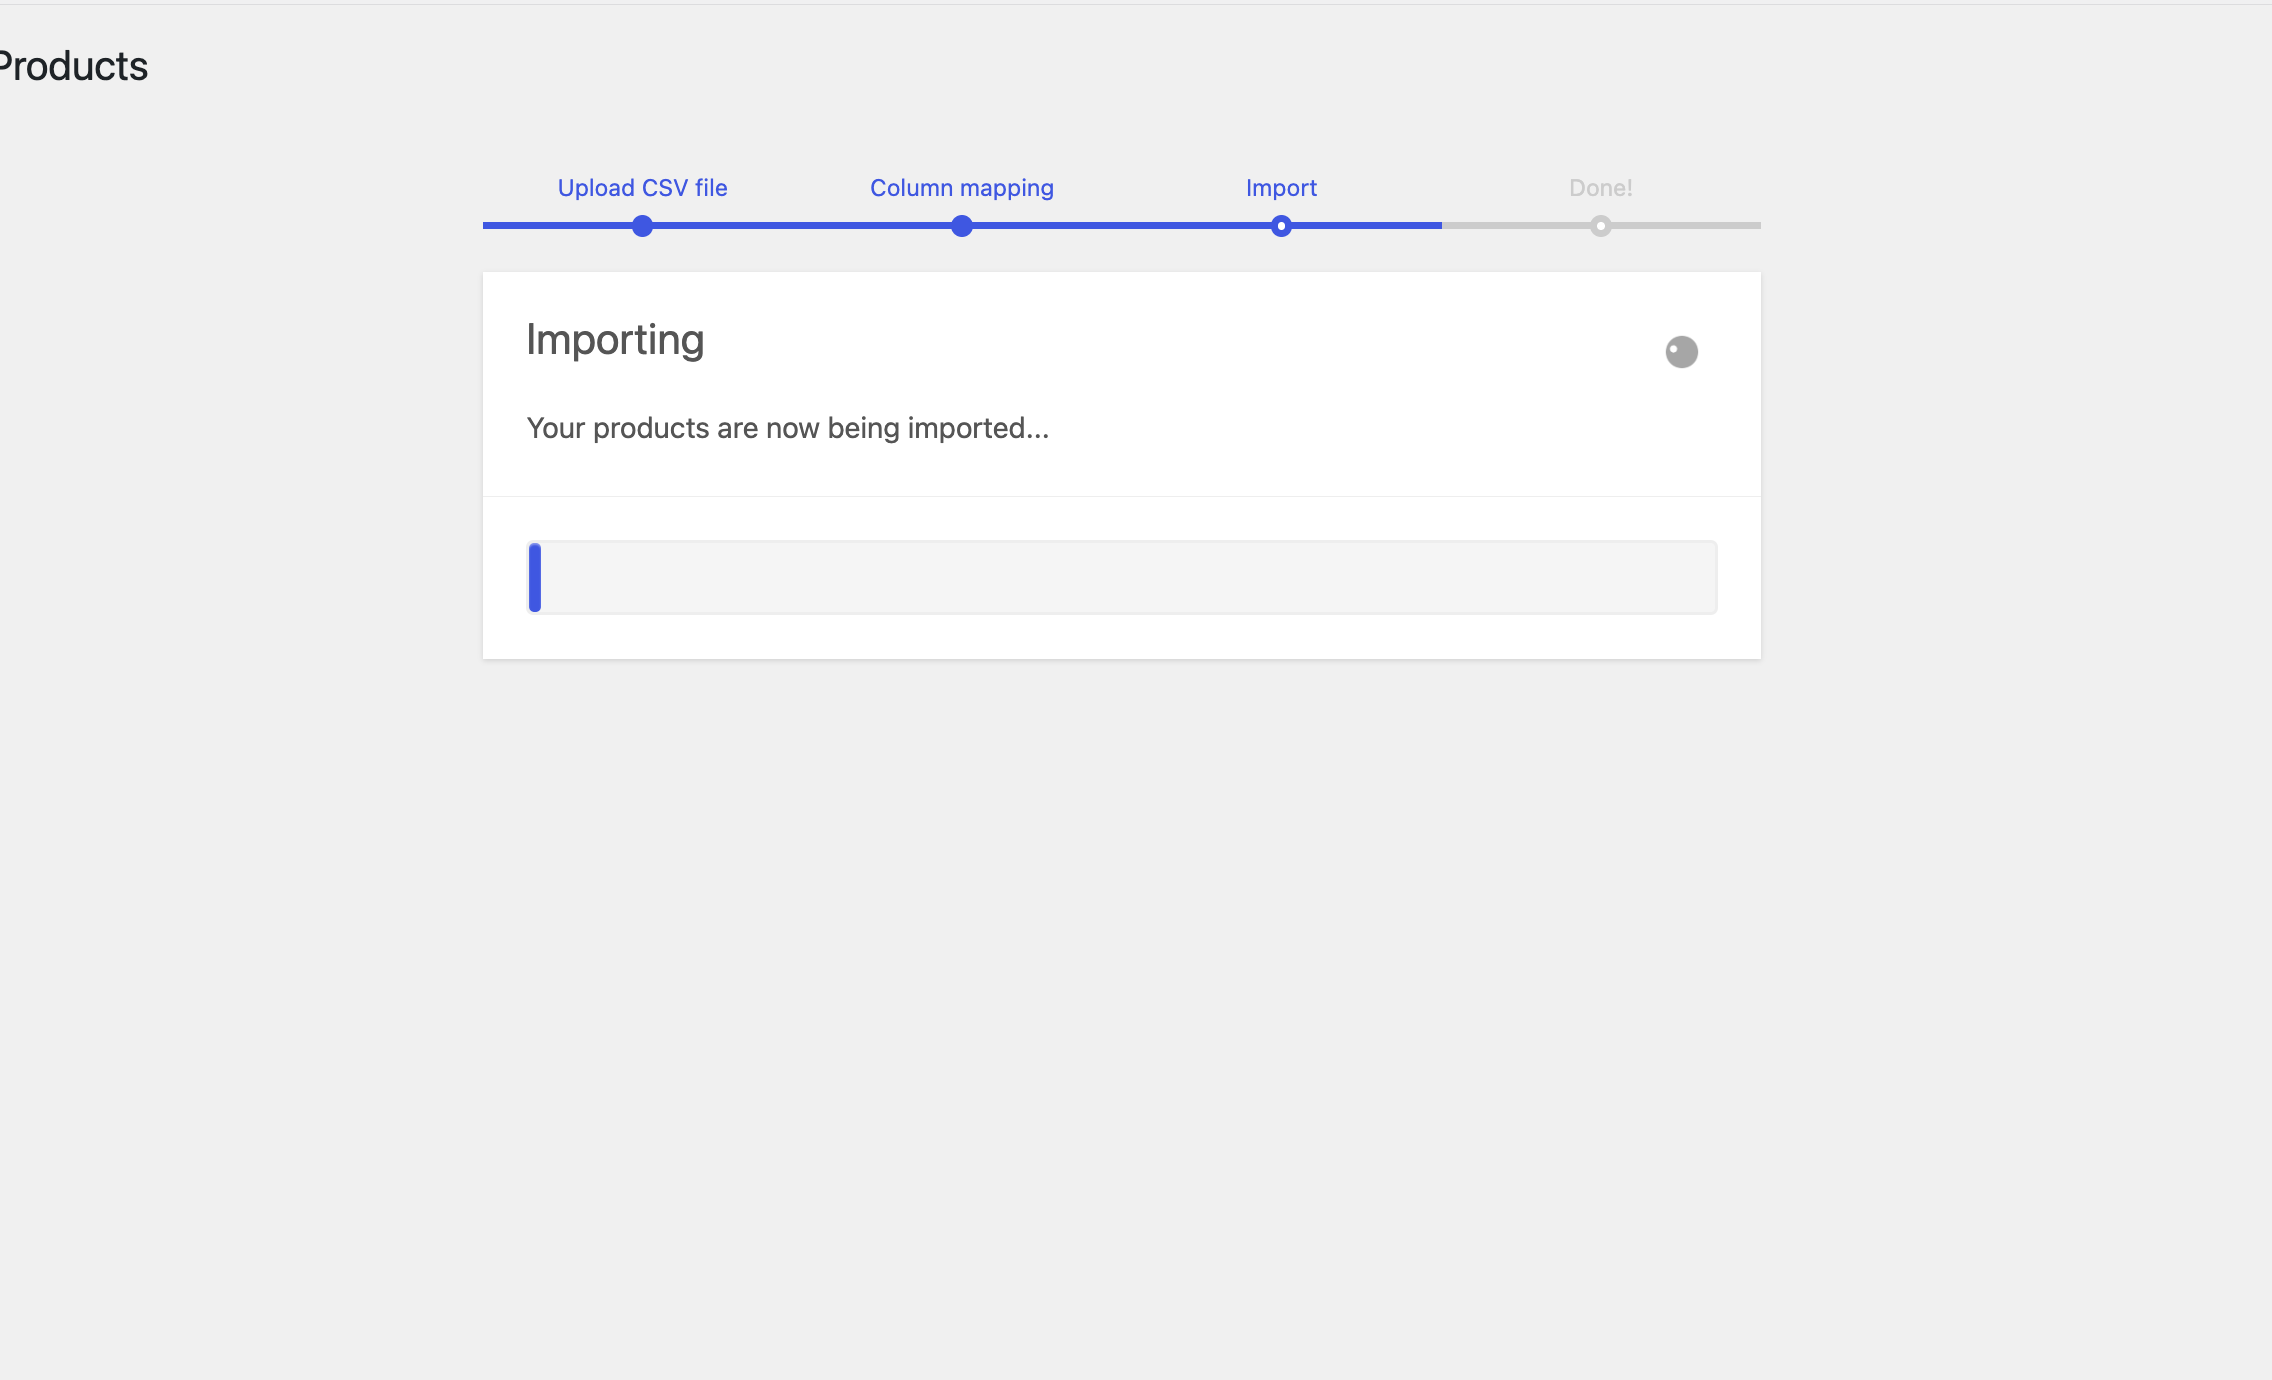
- A Column Mapping screen appears. The left column shows your spreadsheet headings. The right column shows where each one will be saved.
- Read down the list. Most rows fill themselves in correctly. Any heading WooCommerce does not recognise shows as Do not import — either choose the correct destination from the dropdown, or leave it if that column is not needed.
- Click Run the importer.
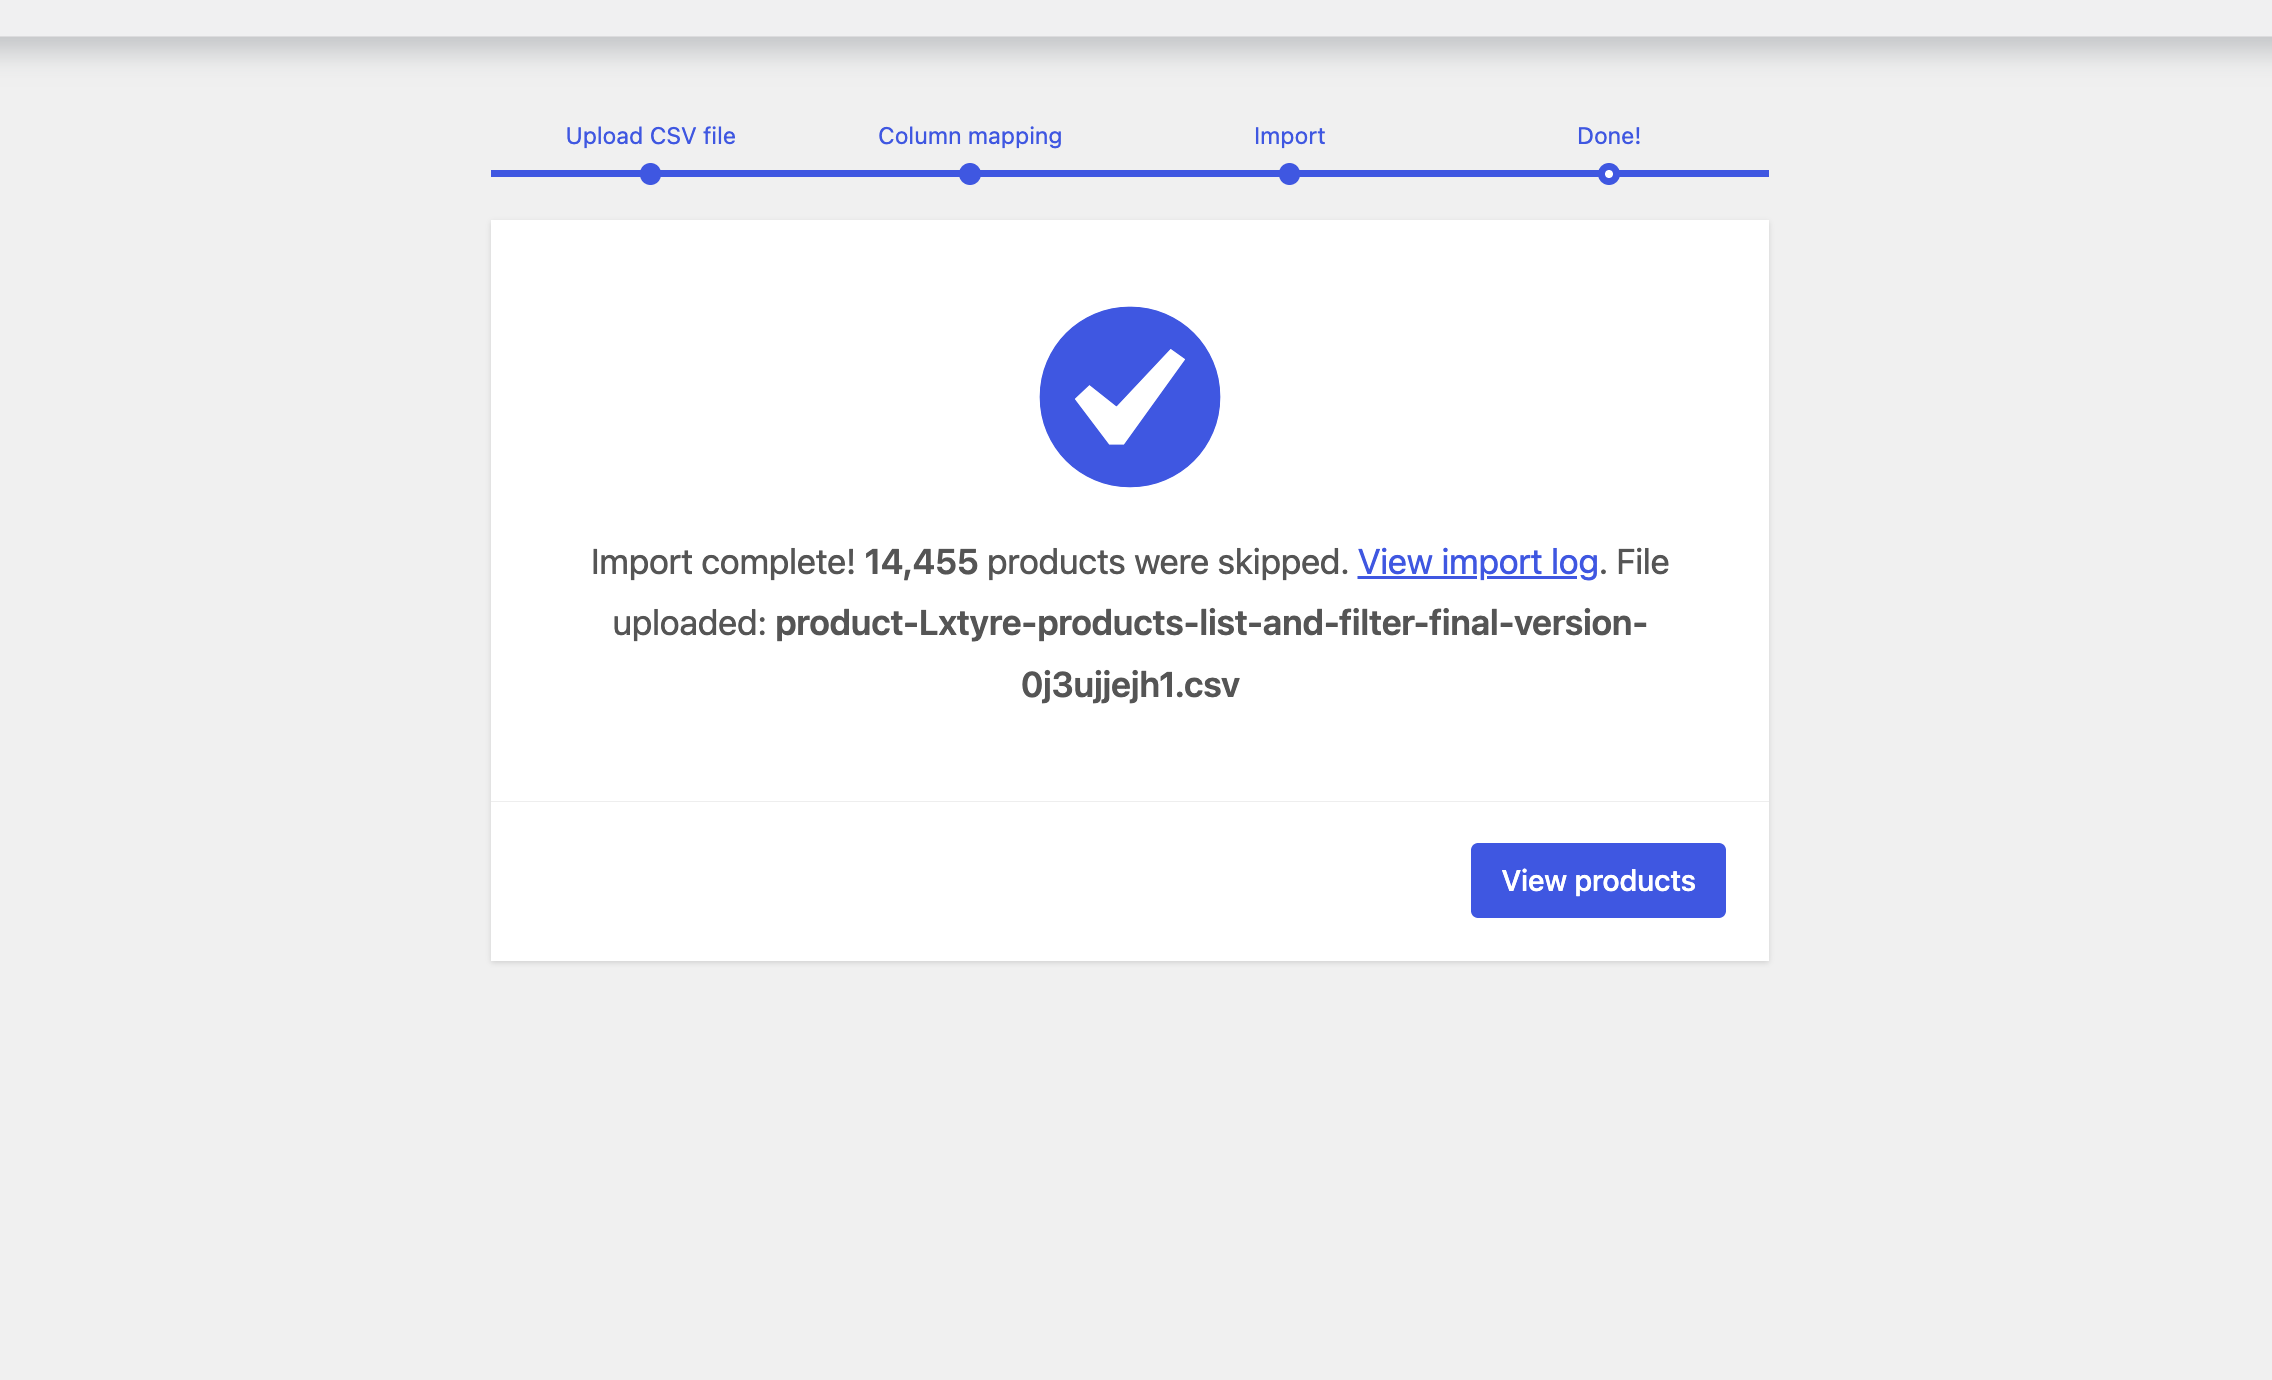
- A progress bar appears. Do not close the tab, refresh the page, or press the back button. A few hundred products can take several minutes.
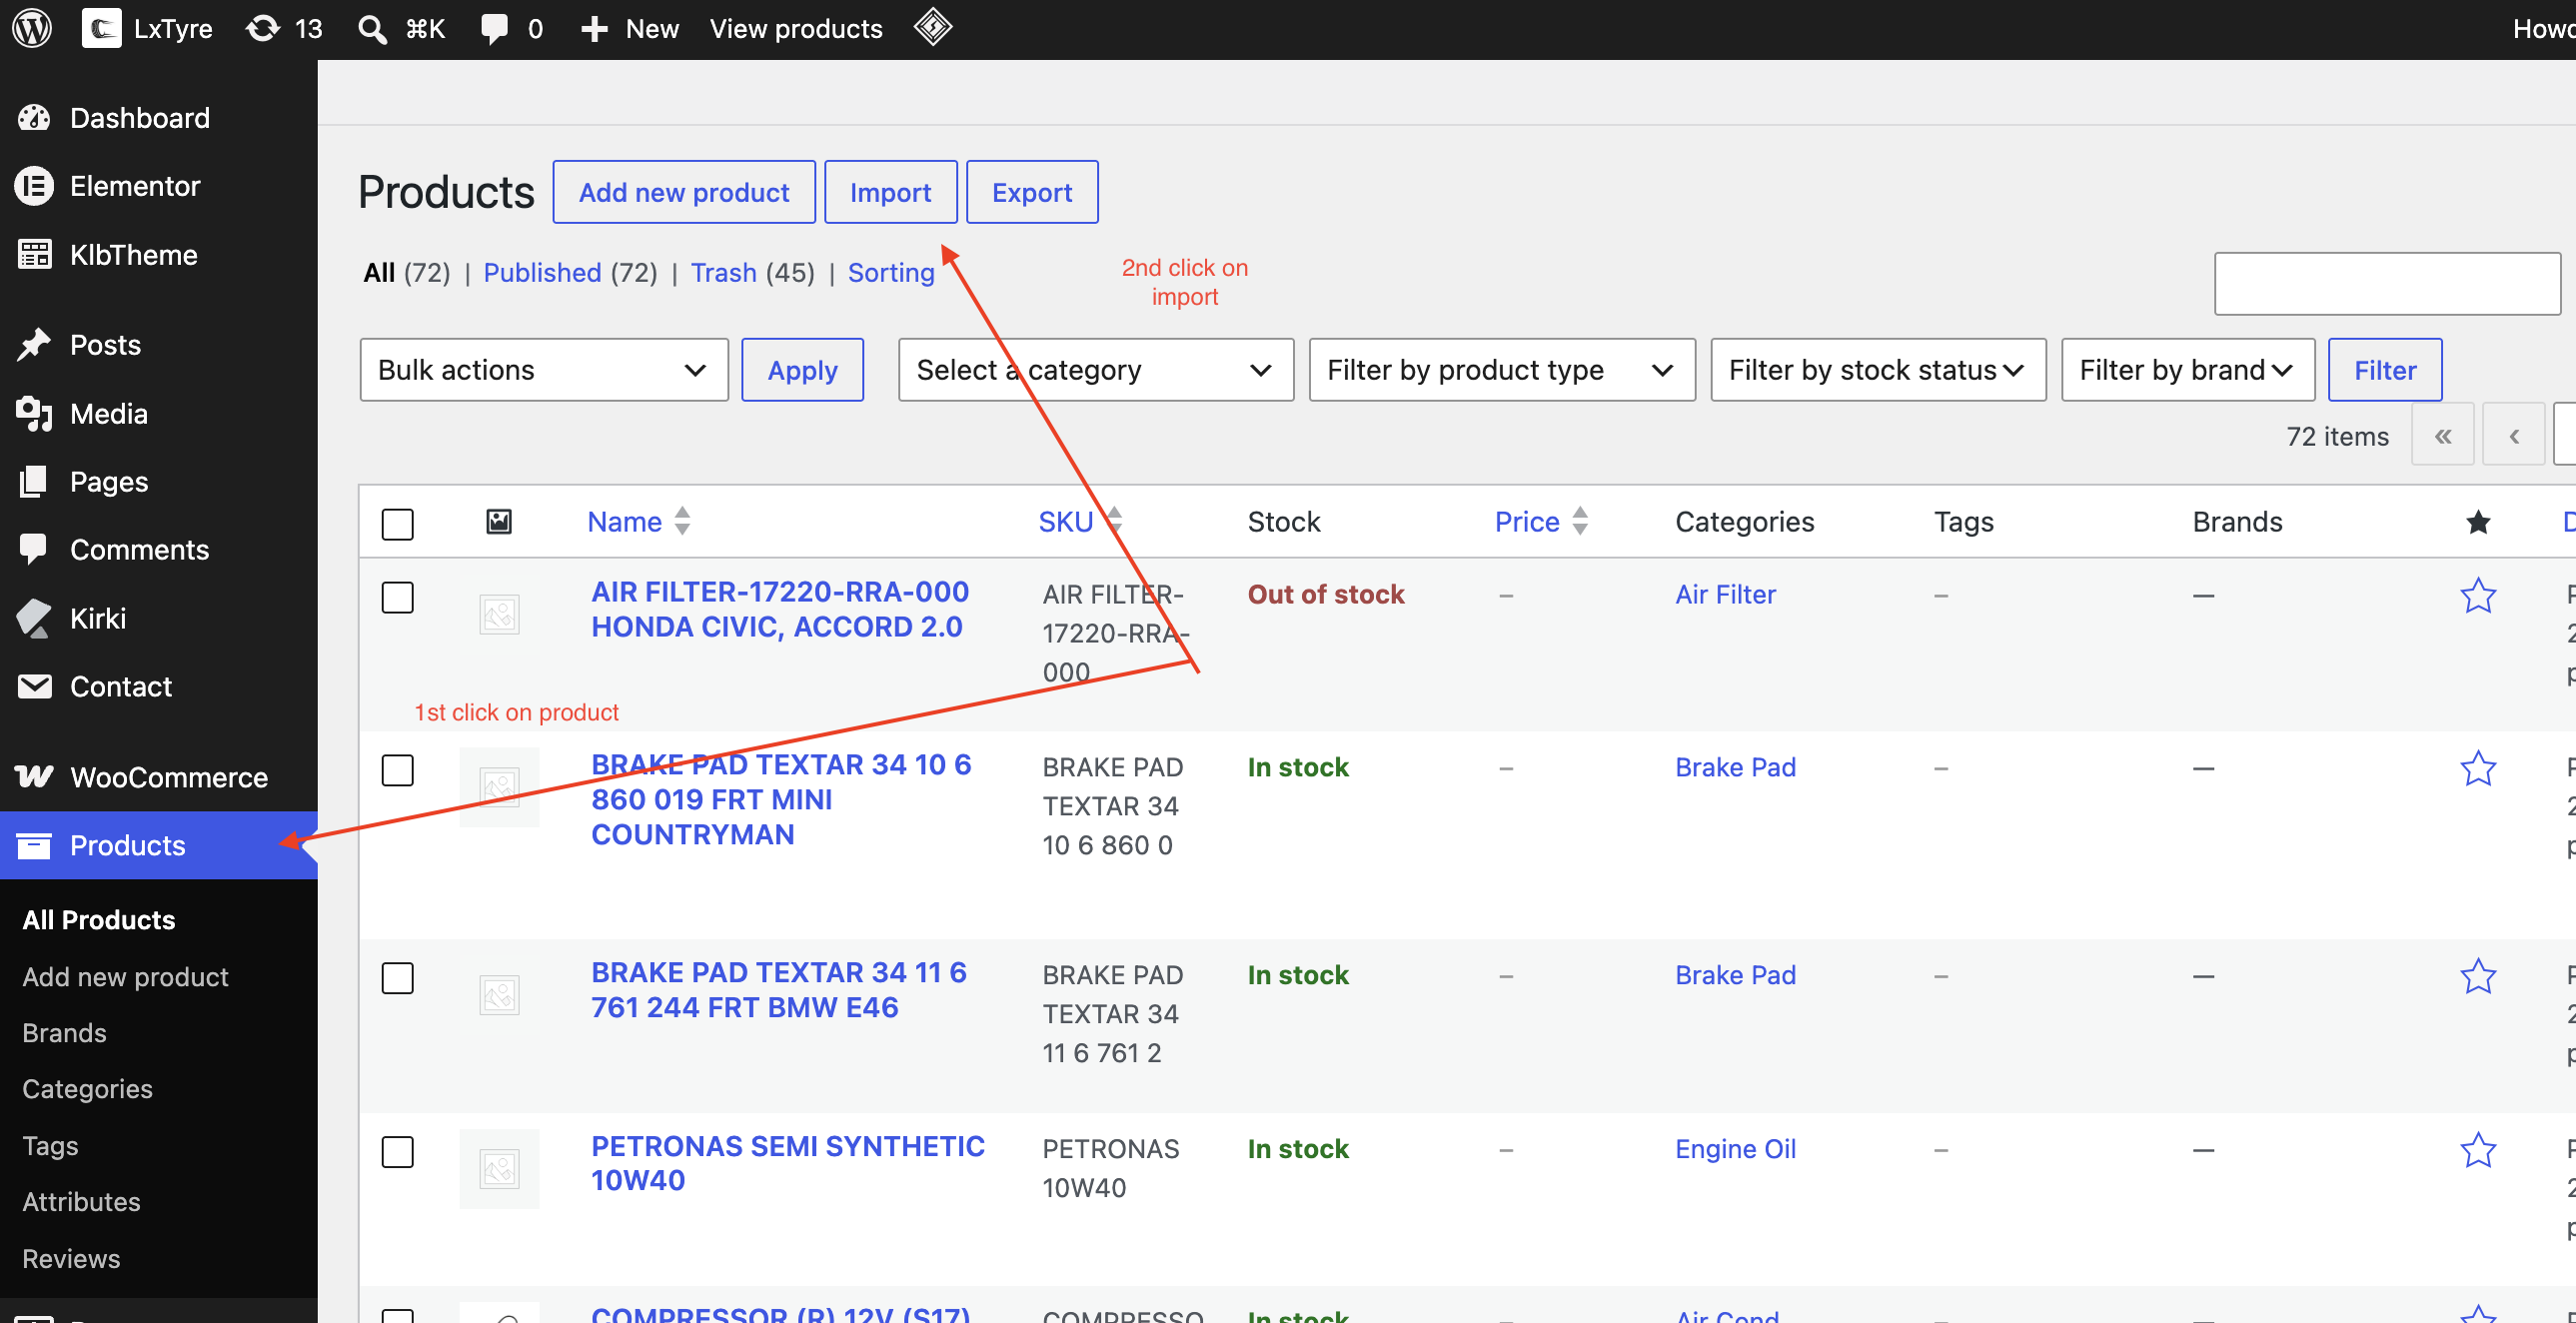
- When it finishes, read the summary. It tells you how many products were imported, updated, skipped or failed.
A Column Mapping screen appears. The left column shows your spreadsheet headings. The right column shows where each one will be saved and click on importer and done.